10 Design Tips for Kitchens That Actually Work
Practical design tips for kitchens: layout, lighting, storage, and finishes. Plan a smarter remodel with 10 actionable tips from start to finish.
You're standing in a kitchen showroom, admiring an island big enough to host Thanksgiving. Then you go home, open your dishwasher, and realize that the same island would leave you climbing over the door to reach the sink. Beautiful cabinets, questionable obstacle course.
That's how kitchen design fails before the first tile lands. Homeowners approve the appearance without testing the movements: unloading groceries, draining pasta, finding the trash, or squeezing past someone making coffee. Months after construction, the backsplash still looks terrific, but everyone's arguing about who's blocking the refrigerator.
The most useful design tips for kitchens connect those everyday movements to decisions your contractor can build. Cabinet dimensions matter. So do appliance specifications, plumbing routes, electrical capacity, and where you'll wash a cereal bowl while the room is torn apart.
Before you approve the rendering: Walk through dinner preparation and cleanup on the proposed plan. Attractive cabinetry won't fix a blocked dishwasher.
These practical decisions address layout, storage, lighting, and finishes before demolition starts. For an Orange County or Los Angeles remodel, the smart approach isn't automatically moving everything. It's knowing which changes solve a real problem, which require coordinated trade work, and which only turn a good-looking drawing into a more expensive drawing.
1. Plan Kitchen Workflow, Work Triangle, and Appliance Placement
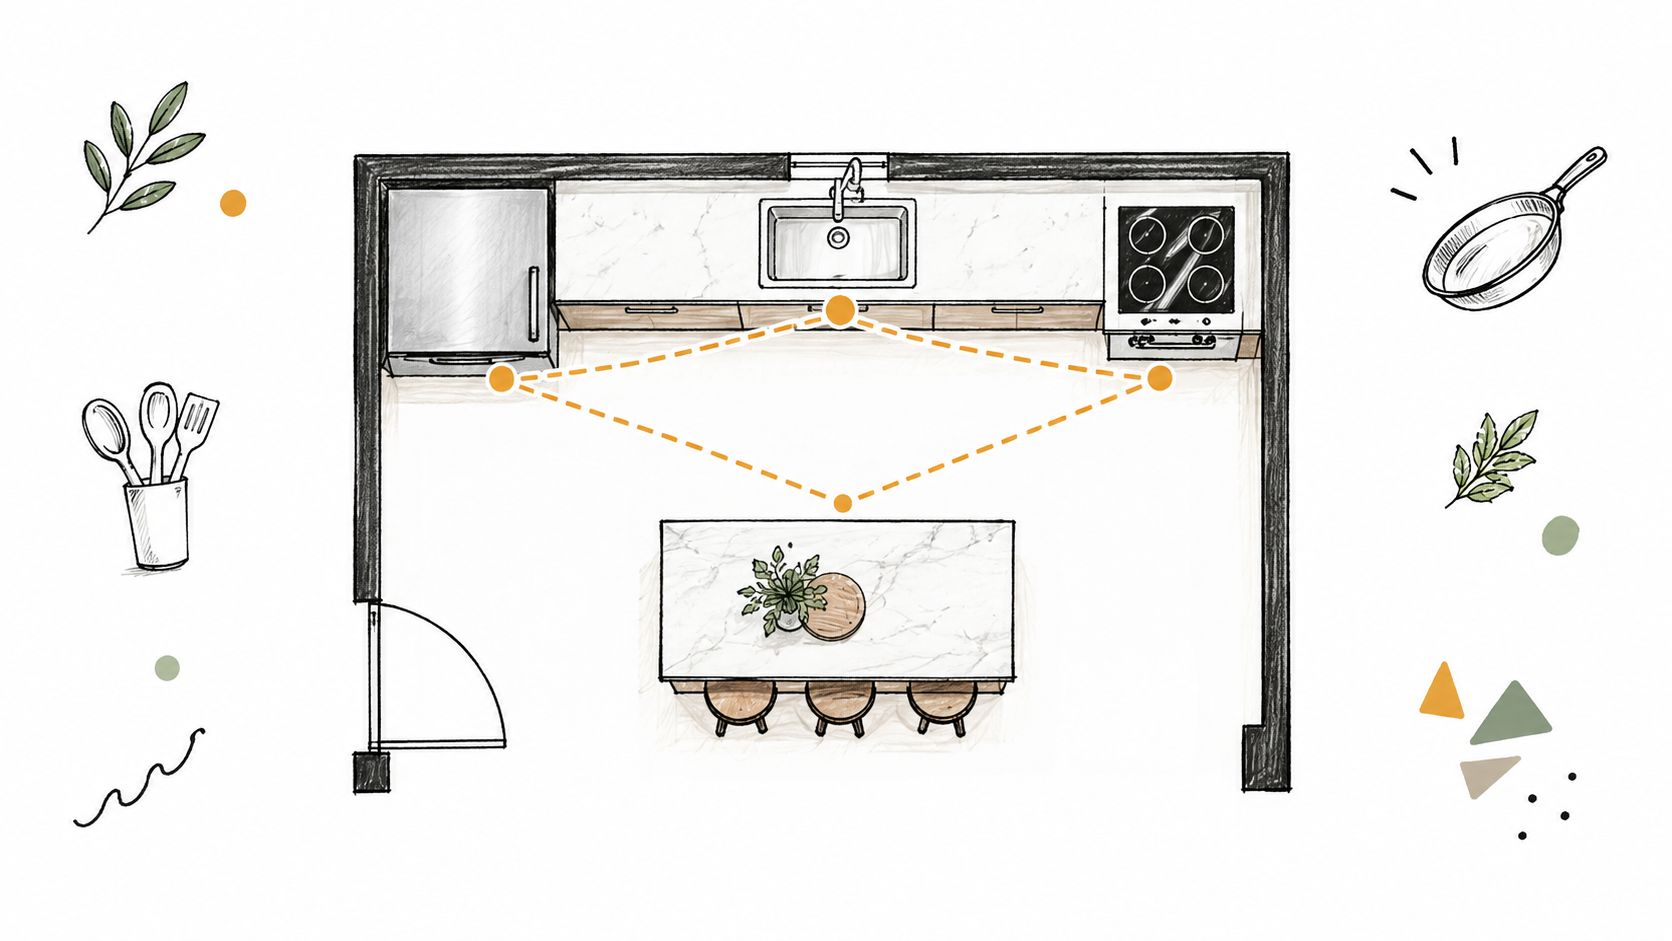
Start with dinner, not cabinet colors. Trace how you take food from the refrigerator, wash it, prepare it, cook it, and clear the dishes. Mark the sink, refrigerator, and cooking surface, then look for furniture, doors, or household traffic crossing those paths.
The work triangle is a diagnostic tool, not a decorating rule. In a hypothetical Orange County open-plan kitchen, an island prep area might work well opposite the range, provided guests can reach drinks without walking through the cooking zone.
Move utilities only for a clear improvement
Keep the sink where it is if the revised layout already works. If moving it creates a better cleanup zone, have the contractor investigate the supply and drain route before you approve cabinetry.
- Separate traffic: Put snack and beverage access away from active cooking where the room allows.
- Group cleanup: Coordinate the sink, dishwasher, trash, and dish storage.
- Test actual appliances: Use selected models and door swings, not generic rectangles.
For broader Orange County home remodeling, evaluate adjacent rooms too. A doorway adjustment may solve the circulation problem more cleanly than relocating every appliance.
2. Maintain Proper Clearances and Walkways
An island doesn't belong in a kitchen just because the cabinet boxes fit. People still need somewhere to stand.
The NKBA kitchen planning guidance recommends a 42-inch work aisle for a single cook, 48 inches for multiple cooks, and a 36-inch walkway for primarily circulation; its more generous 60-to-66-inch range accommodates a work aisle plus passing space around the cooking zone. These are different functions, so don't apply the walkway dimension to an active preparation aisle.
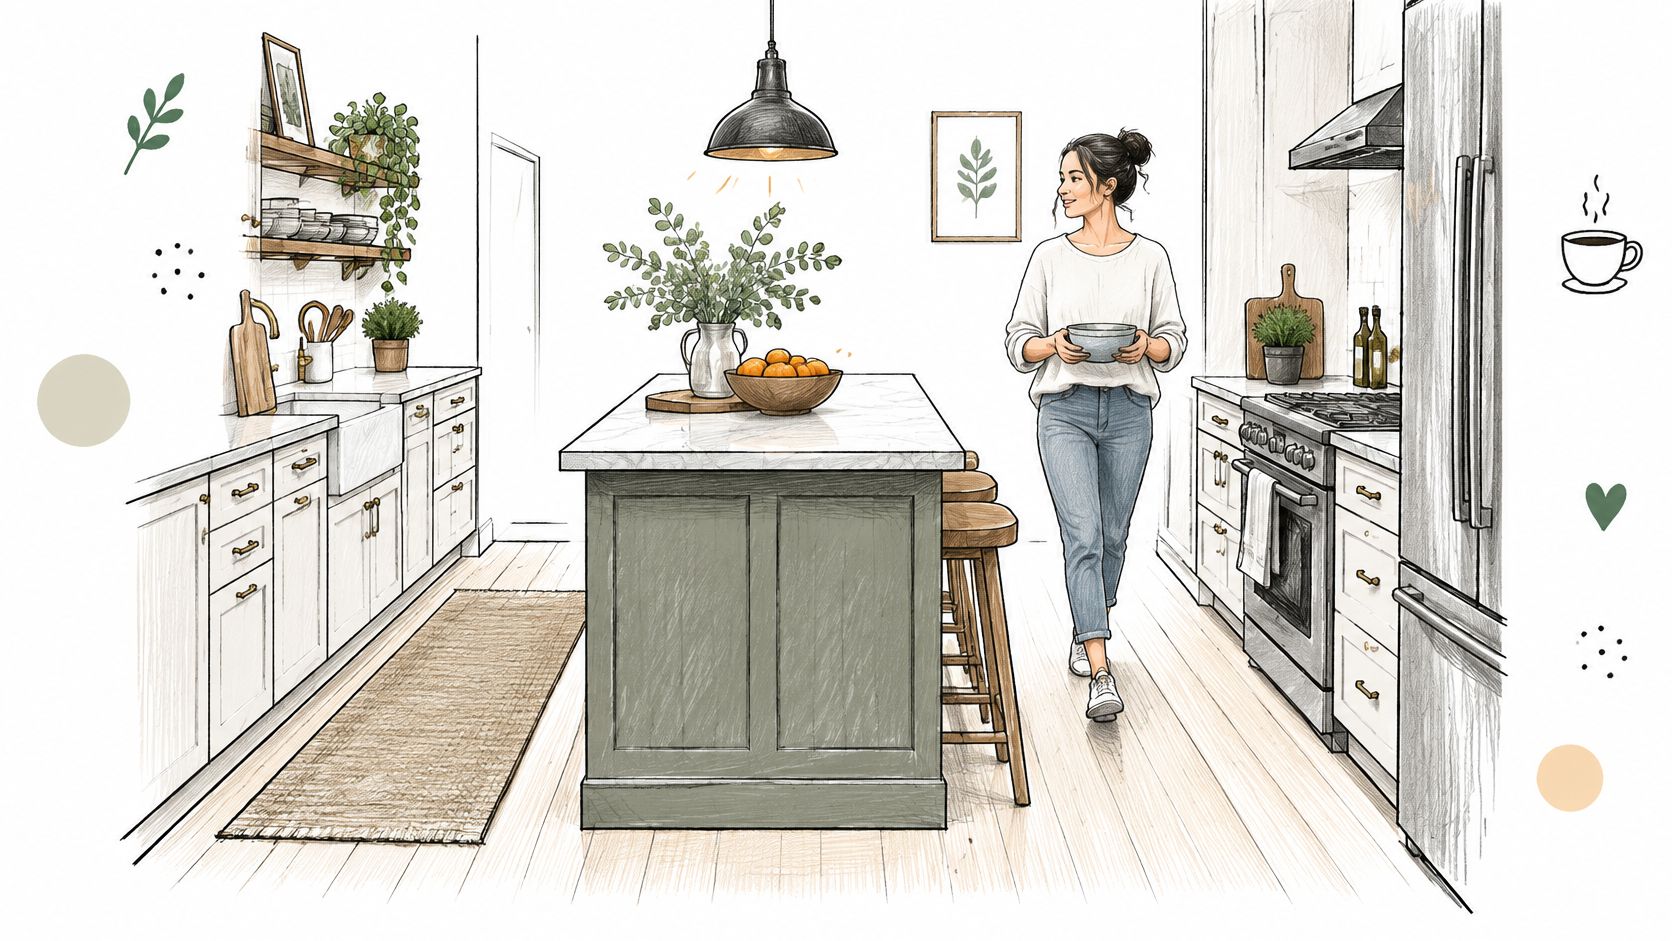
Measure between the front faces of opposing counters, cabinets, or appliances, accounting for projections. Then draw the refrigerator, oven, dishwasher, and drawers open, rather than assuming closed-door clearance tells the whole story.
For a narrow galley remodel, reducing island depth or choosing a peninsula may be the better trade. Losing some cabinetry is preferable to living with a permanent bottleneck.
Don't buy an island with the space your household needs to move.
Before fabrication, tape the proposed footprint on the floor and rehearse unloading dishes while someone passes. Correcting a clearance problem on paper is a design revision. Correcting it after installation can involve cabinetry, flooring, and countertops.
3. Create Adequate Countertop Landing Zones
Where will the hot roasting pan go? If the answer is “across the aisle, probably,” keep working on the layout.
Landing space must remain usable after you add the coffee maker, toaster, and dish rack. A long counter in a rendering can become a very short preparation area once daily equipment moves in.
Assign the countertop a job
For a compact Los Angeles kitchen, consider reserving the counter beside the refrigerator for grocery unloading rather than filling it with a tall pantry cabinet. Beside the oven, protect a practical set-down area instead of making the cook carry hot cookware through household traffic.
- At the sink: Allow working room for preparation and cleanup without making those activities compete.
- At cooking appliances: Plan an appropriate landing surface and a place for trivets.
- At the refrigerator: Test where bags, ingredients, and serving dishes will land.
- At small appliances: Check whether their permanent positions consume the main prep surface.
There's no verified landing-zone dimension in this brief that justifies pretending every kitchen needs the same allocation. Size these areas around your appliances, cookware, and habits.
The remodeling consequence arrives when a late request for “just a little more counter” changes the cabinet arrangement or slab layout. Resolve that before the cabinet order, not while the fabricator is asking where to put the seam.
4. Use Layered Lighting
A pendant can look spectacular and still leave your cutting board in shadow. Treat decorative lighting as part of the plan, not the entire plan.
In the Houzz kitchen trends report on changing household needs, 55% of renovating homeowners added lighting for visibility and safety, while 50% selected wide drawer pulls. The useful takeaway is practical: visibility and ease of use deserve attention alongside appearance.
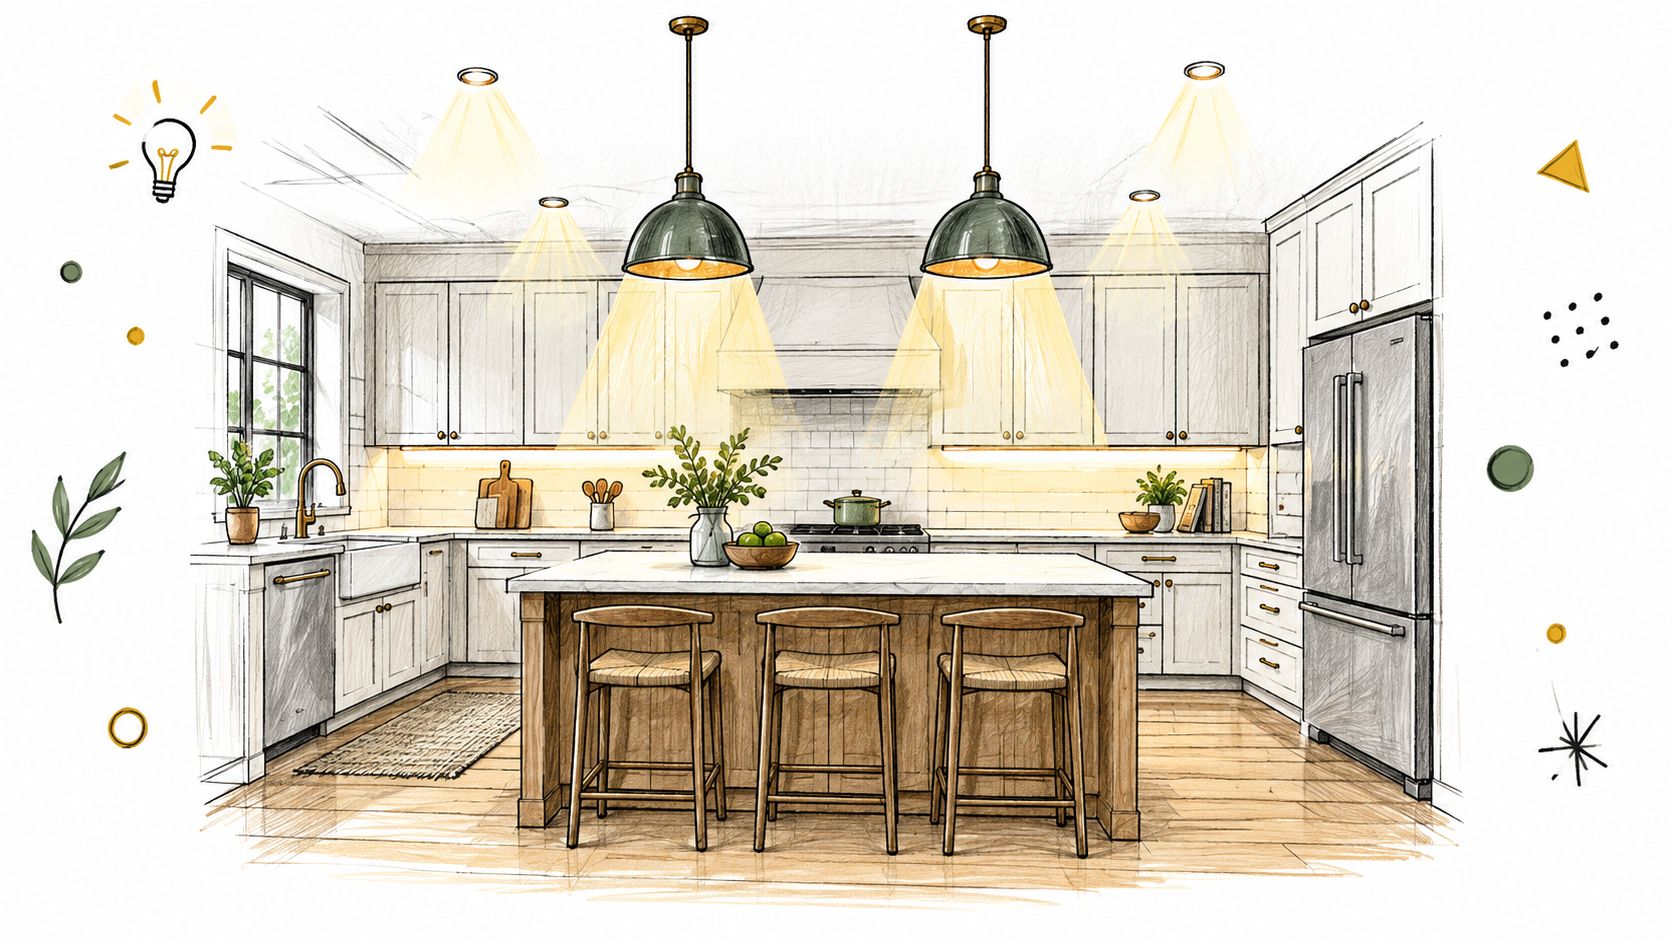
Consider an open-plan kitchen where ceiling fixtures sit behind the person preparing dinner. Add direct countertop lighting, then position pendants so they don't interrupt conversation across the island.
Specify controls before rough-in
Give ambient, task, and accent lighting separate control where appropriate. Review fixture locations against cabinet elevations, hood placement, and the surfaces you've selected.
Ask to see countertop and backsplash samples under the proposed lighting. A finish that feels comfortable in daylight may produce distracting reflections at night.
Make the electrician and cabinet installer work from the same lighting plan. Otherwise, the late discovery of a missing driver location, switch, or concealed wiring route can mean reopening finished work. That's an expensive way to discover you wanted under-cabinet lighting.
5. Plan Ventilation and Range Hood Placement
Choose the ventilation approach before falling in love with a nearly invisible hood. The cooking surface, hood, exhaust route, and replacement air need to work together.
Berkeley's kitchen air-quality research found that induction cooking used about half as much energy as gas, produced no discernible nitrogen oxides, and reduced ultrafine particles and carbon dioxide compared with gas cooking. The research also identifies fuel type, hood performance, ventilation design, and hood use as important exposure factors.
For a proposed range on an interior wall, have the contractor investigate the exterior duct route early. Don't assume a recirculating product answers the same questions as exterior exhaust.
- Match the equipment: Review hood capture and installation requirements against the selected cooking appliance.
- Resolve the route: Coordinate ductwork with framing, cabinetry, and exterior penetrations.
- Check the requirements: Have the project team verify applicable ventilation and makeup-air provisions.
- Plan actual use: Choose controls and an arrangement your household will use consistently.
Performance first: A minimal-looking hood isn't a successful design if it compromises the ventilation strategy.
If replacing a gas appliance isn't currently feasible, practical interim measures include using the hood during cooking and afterward, covering pans, and improving general mechanical ventilation. Renters and multifamily owners should coordinate proposed changes with the responsible property team.
6. Plan Electrical Outlets and Circuits Early
Write down what you plug in before deciding where outlets should disappear. A clean backsplash is appealing; an extension cord draped across it rather spoils the effect.
For an island with a dishwasher, microwave, and seating, the electrical plan must follow the appliance specifications and intended uses. In its U.S. kitchen trends study, Houzz reports that 53% of renovating homeowners installed a new island appliance, including dishwashers at 35%, microwaves at 32%, and cooktops at 15%.
An island is infrastructure, not furniture
Those appliance choices require early coordination. An island dishwasher brings supply, drainage, electrical, and applicable venting considerations; a cooktop introduces its own utility and exhaust requirements.
- Confirm loads: Have the electrician review the selected appliances and existing service before promising an induction conversion.
- Map everyday use: Identify coffee equipment, mixers, charging needs, and countertop appliances.
- Coordinate details: Check proposed outlet locations against drawers, panels, seating, and current local requirements.
Don't assume a pop-up outlet or in-drawer charging product is appropriate just because it appears in a showroom. Have the electrician verify the product and installation.
In a slab-floor remodel, late island changes may also affect floor penetrations and repair work. Resolve the service routes before finishes conceal them.
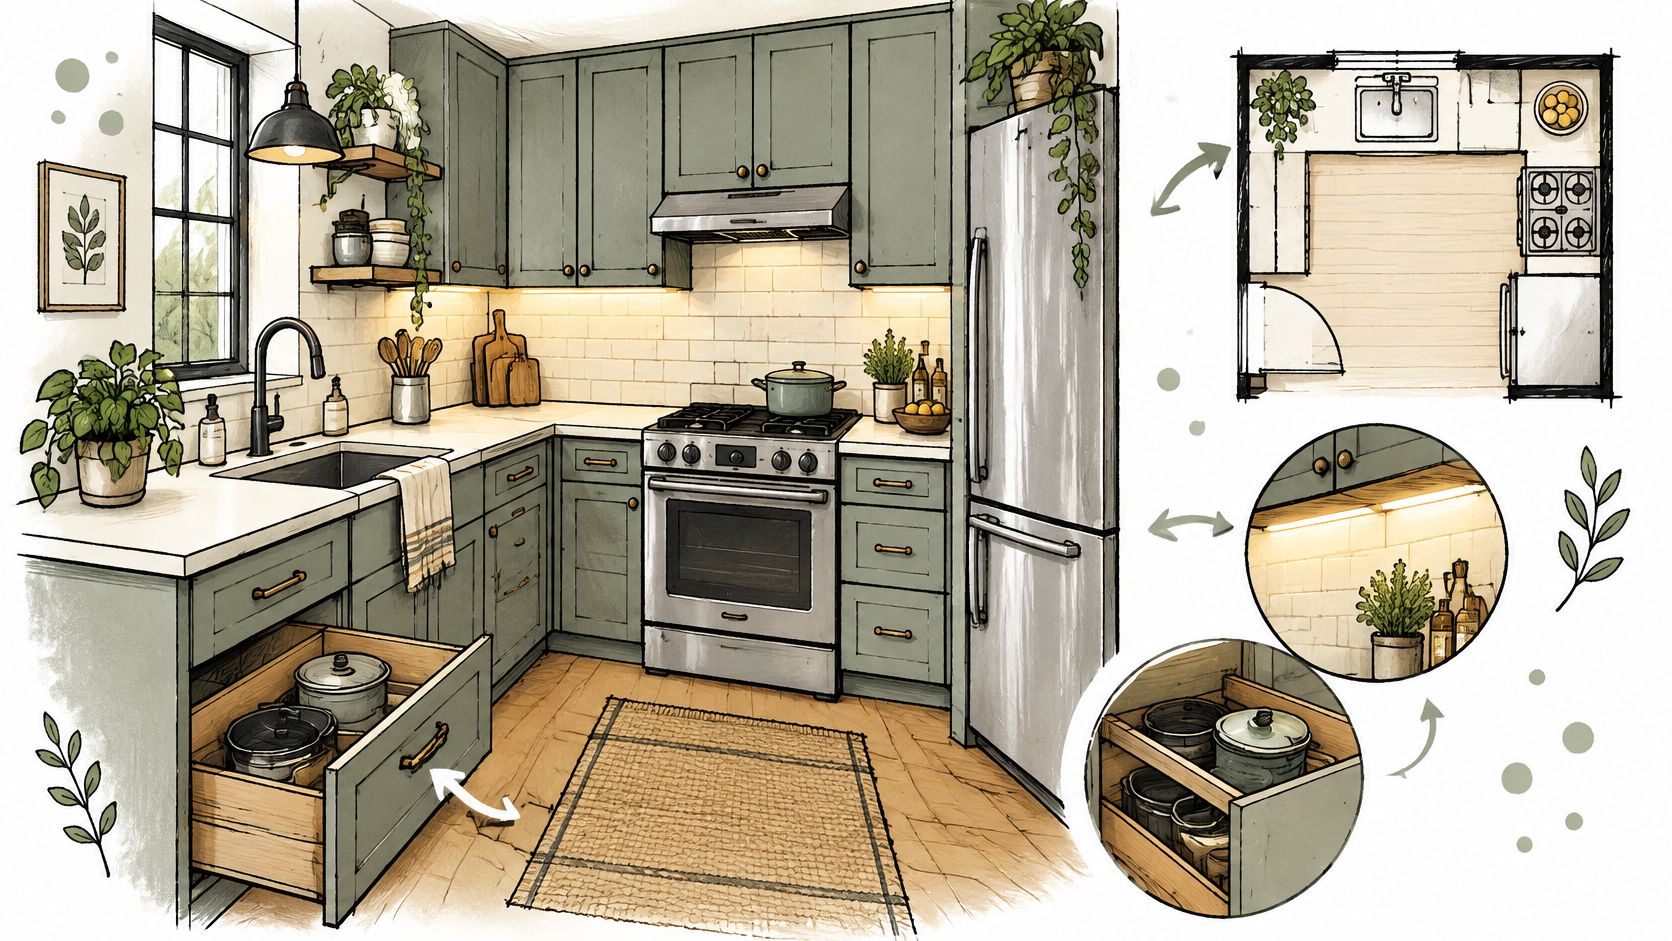
7. Design Smart, Accessible Storage Systems
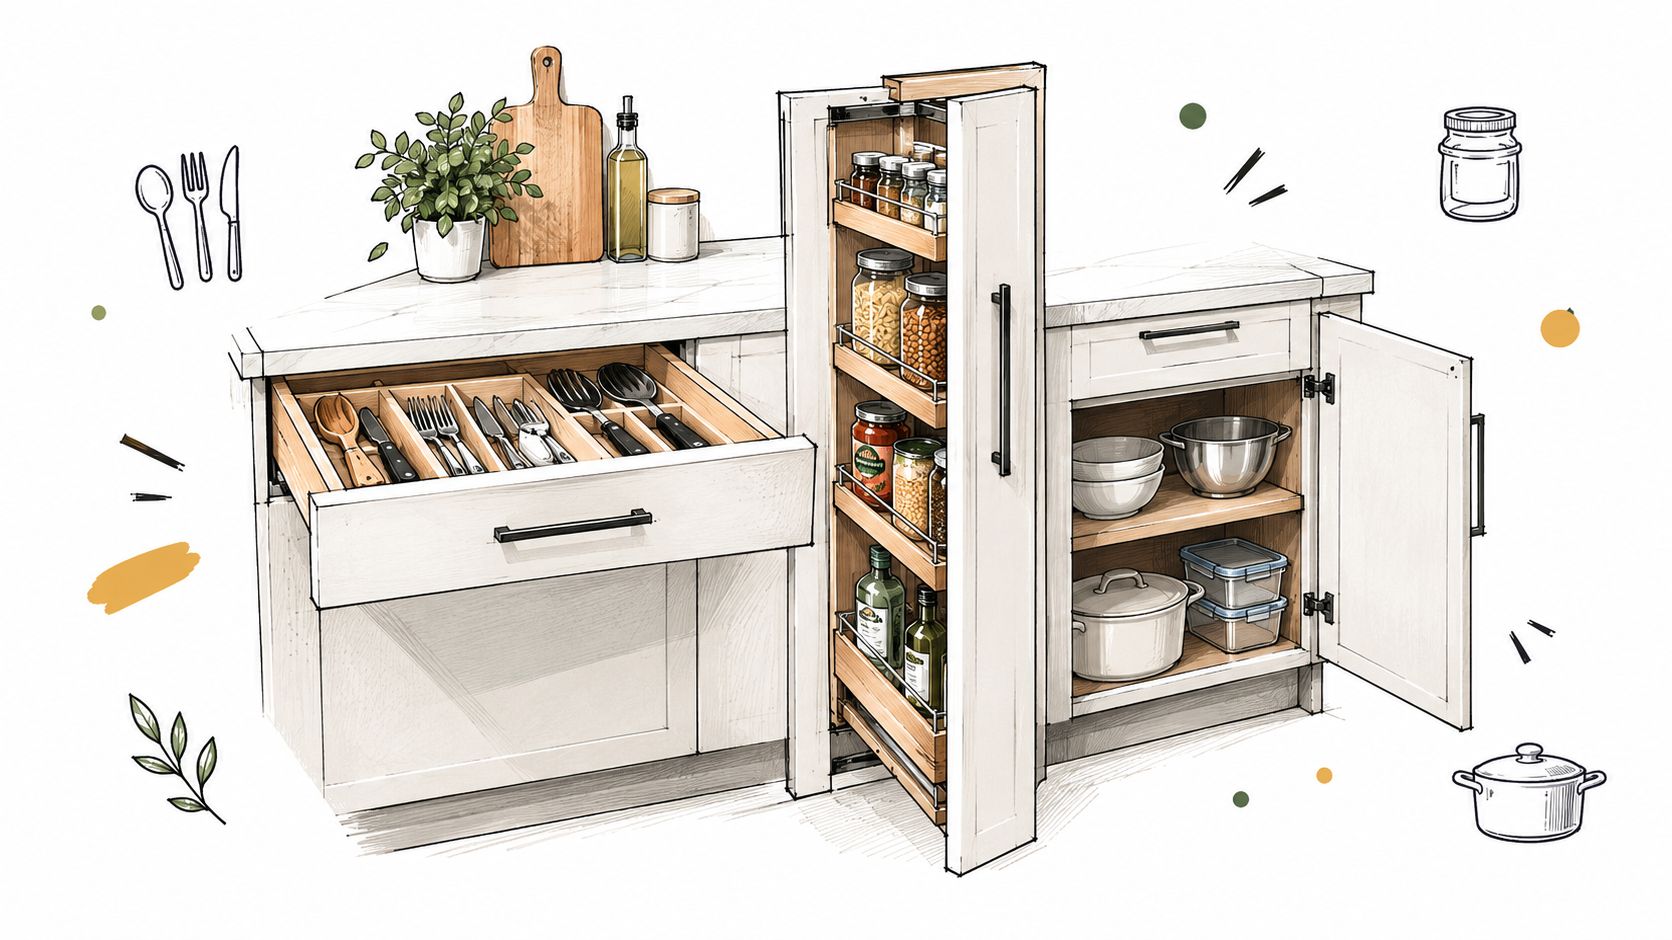
Open your current cabinets before ordering new ones. The roasting pan, blender, food containers, and baking sheets are the design brief. “More storage” is too vague to build well.
Houzz's reporting on kitchen feature choices says 94% of renovated kitchens include built-in specialty storage; earlier organizer data identifies cookie-sheet storage at 53%, spice storage at 41%, and cutlery storage at 38%. Popularity isn't a reason to buy every insert, but it supports looking beyond empty cabinet boxes.
Inventory first, hardware second
For a household that bakes frequently, vertical tray storage near the oven may be more useful than another deep cabinet. For someone who rarely bakes, that same space might better serve cookware or pantry goods.
- Measure contents: Check usable drawer interiors against actual pans and appliances.
- Match hardware: Specify slides and mechanisms appropriate to the expected contents.
- Follow the task: Keep cookware near cooking and dishes near unloading.
- Check conflicts: Coordinate pull-outs with hinges, plumbing, and waste bins.
Full-extension drawers can make heavy cookware easier to retrieve, but elaborate organizers also consume interior space. Don't sacrifice a useful drawer to a mechanism that doesn't solve your problem.
The late-stage trap is selecting accessories after cabinet construction is settled. What looked like an easy upgrade may not clear the hinge, trap, or neighboring drawer.
8. Apply Universal and Aging-in-Place Design
Design for the person using the kitchen, not an imaginary average homeowner. A seated cook, a resident with limited grip strength, and someone recovering from an injury may need different arrangements.
As planning references, the ADA accessibility standards specify 40 inches between opposing elements in a pass-through kitchen and describe 30-by-48-inch clear floor spaces for approaches. These dimensions aren't a substitute for a project-specific accessibility review, and a private residential kitchen isn't automatically subject to every ADA provision.
For a multigenerational household, test a seated preparation area with the intended user. Coordinate reach, knee space, controls, and nearby storage rather than just lowering a counter and declaring victory.
- Improve access: Consider pull-out shelves and easy-grip or lever controls.
- Reduce visual strain: Review glare, edge contrast, and task lighting.
- Allow adaptation: Discuss future support needs and wall reinforcement before closing walls.
The same whole-home thinking applies when reviewing bathroom remodel designs. Plan connected spaces around real movement patterns.
Maximum cabinet density isn't always the best value. Reachable storage and a comfortable route can matter more than another impressive-looking cabinet nobody can use independently.
9. Select Durable, Code-Compliant Surfaces With Safety in Mind
Bring the countertop sample home. Put it beside the flooring, cabinet finish, and backsplash in daylight and under your proposed lighting. Then ask how it behaves around hot cookware, spills, and the cleaners you regularly use.
Don't treat “durable” as permission to ignore the manufacturer's care instructions. For a busy household choosing between engineered stone, natural stone, and porcelain products, request the specific product's heat limitations, maintenance guidance, and warranty conditions.
Include fabrication in the design conversation
Material selection also raises installation questions. Ask the fabricator how seams, cutouts, edges, and any required site adjustments will be handled before approving the slab layout.
- Dust-control planning: Ask specifically about silica exposure controls, containment, and applicable California requirements.
- Work locations: Establish where cutting and finishing will occur and how occupied areas will be protected.
- Flooring suitability: Review the selected product's intended use, care requirements, and behavior in wet conditions.
- Scope clarity: Confirm whether sourcing, fabrication, installation, and related repairs are included.
For an occupied Orange County home, “we'll figure out the cutting on installation day” isn't a satisfactory plan. Have the contractor and fabricator explain the approach without accepting a vague promise that someone will tidy up afterward.
Wholesale or bundled sourcing can help align selections with the project scope. It shouldn't replace a clear product specification or a safe installation plan.
10. Plan Construction Sequencing and a Temporary Kitchen
Before removing the sink, decide where tomorrow's breakfast dishes will go. A temporary kitchen needs more thought than placing a microwave on a folding table.
For a family staying home during construction, choose a temporary area with safe appliance use, manageable cleanup, and separation from the work zone. Don't assume the garage is suitable without reviewing access, power, and the proposed equipment with the contractor.
Make demolition the result of planning
Confirm the layout, appliance specifications, cabinet details, and material availability before authorizing demolition. Ask the project manager which decisions or deliveries could interrupt the planned trade sequence.
- Resolve dependencies: Coordinate plumbing and electrical rough-in with approved appliance and cabinet information.
- Stage materials: Agree on delivery locations and protection for stored products.
- Plan inspections: Identify required approvals and who will arrange them.
- Protect daily routines: Establish household access, cleanup arrangements, and communication expectations.
Use floor plans and visualizations to settle design questions while changes are still manageable. A rendering is helpful, but it needs to agree with buildable dimensions and utility routes.
For practical kitchen remodeling on a budget, reducing avoidable changes is a better starting point than stripping useful features from the finished room. Keep the temporary setup simple, and don't use indoor cooking equipment in a location its manufacturer doesn't permit.
10 Essential Kitchen Design Tips: Side-by-Side Comparison
| Kitchen Design Practice | 🔄 Implementation Complexity | ⚡ Resource Requirements | 📊 Expected Outcome | ⭐ Ideal Use Case / Key Advantage |
|---|---|---|---|---|
| Workflow, Work Triangle, and Appliance Placement | Moderate; may require layout changes | Floor plan review; plumbing or utility relocation may add cost | Fewer unnecessary steps and less congestion | Kitchens needing a more efficient cooking and cleanup flow |
| Clearances and Walkways | Low to moderate; dimensions must be checked before installation | Accurate measurements; may require reducing island or cabinet size | Safer movement and unobstructed appliance doors | Busy kitchens or spaces used by multiple cooks |
| Countertop Landing Zones | Low to moderate; depends on available counter space | Counter area near appliances; relocation may be needed | Safer handling of hot cookware and smoother preparation | Kitchens where appliances lack nearby set-down space |
| Layered Lighting | Moderate; requires coordinated fixture and circuit planning | Ambient, task, and accent fixtures; separate switches or dimmers | Better visibility, fewer work-surface shadows, and adjustable atmosphere | Kitchens used for cooking, dining, and entertaining |
| Ventilation and Range Hood Placement | Moderate to high; ducting must be planned early | Properly sized hood, duct route, and potentially makeup air | Reduced smoke, grease, odors, and moisture | Kitchens with frequent cooking or high-output cooktops |
| Electrical Outlets and Circuits | Moderate; best planned before walls are closed | Adequate panel capacity, receptacles, and dedicated circuits | Fewer overloaded circuits and less reliance on extension cords | Remodels adding modern appliances, island outlets, or charging points |
| Smart, Accessible Storage Systems | Low to moderate; depends on cabinet design | Drawers, pull-outs, organizers, and durable hardware | Easier access and better use of cabinet space | Kitchens with clutter, hard-to-reach cabinets, or limited storage |
| Universal and Aging-in-Place Design | Moderate; clearances and heights affect the layout | Accessible features, suitable hardware, and potentially specialized equipment | Greater usability across ages and abilities; supports long-term use | Homes planned for aging in place or varied mobility needs |
| Durable, Code-Compliant Surfaces | Moderate; material selection and installation need coordination | Material budget, samples, and safe fabrication practices | Durable, easier-to-maintain surfaces and cohesive finishes | High-use kitchens where maintenance, safety, and longevity matter |
| Construction Sequencing and Temporary Kitchen | Moderate; requires scheduling and coordination | Lead-time planning, temporary appliances, space, and dust barriers | Less disruption and better coordination during renovation | Full remodels or projects where daily kitchen access must be maintained |
Your Next Move, Lock the Layout Before You Pick a Backsplash
Start with the decisions that are hardest to change. Establish how the kitchen works, verify the circulation, and settle appliance locations before moving into decorative details. Then coordinate plumbing, electrical, and ventilation so the cabinets aren't designed around assumptions.
Lighting and storage deserve the same discipline. Assign each drawer a purpose, identify the surfaces that need direct light, and test whether the people using the kitchen can reach the things they need. A polished rendering should confirm those decisions, not distract you from unanswered questions.
Bring a working brief to the consultation
Sketch your existing kitchen and mark the sink, refrigerator, and cooking surface. Draw the routes you use most, then circle the trouble spots: the refrigerator door that blocks entry, the drawer that hits the dishwasher, or the counter that disappears beneath appliances.
Bring that sketch to an on-site consultation along with:
- An appliance list: Include existing equipment you'll retain and proposed replacements.
- A storage inventory: Photograph awkward items and measure the pieces that need dedicated space.
- A daily-use description: Explain who cooks, who cleans, and how others pass through.
- An occupancy plan: Say whether you'll remain at home and what temporary facilities you need.
Ask the contractor to distinguish between necessary work and optional upgrades. Moving a sink might solve the room, or it might add utility work without improving dinner preparation. The answer should come from the layout and site conditions, not enthusiasm for demolition.
Before approving the final plan, confirm appliance and cabinet availability, unresolved selections, and the process for handling changes. Make sure everyone understands the same scope, including dust control, inspections, installation details, and household access.
The best design tips for kitchens don't end with a fashionable finish. They help you choose a room that remains comfortable when the dishwasher is open, dinner is underway, and someone insists on making coffee in the middle of everything.
Book the design consultation before demolition. Bring the awkward details, not just the inspiration photos, and ask the team to resolve them in the drawings.
Epic Remodeling offers kitchen layout planning, detailed floor plans, visualization renderings, and coordinated construction with dedicated on-site project management. Visit Epic Remodeling to arrange an on-site consultation and work through appliance placement, utility changes, cabinetry, and construction logistics before your kitchen comes apart.