Updating Bathrooms on a Budget: 8 Upgrades That Work
Updating bathrooms on a budget? These 8 high-impact upgrades, smart priorities, and DIY vs. pro tips deliver a fresh look without a full remodel.
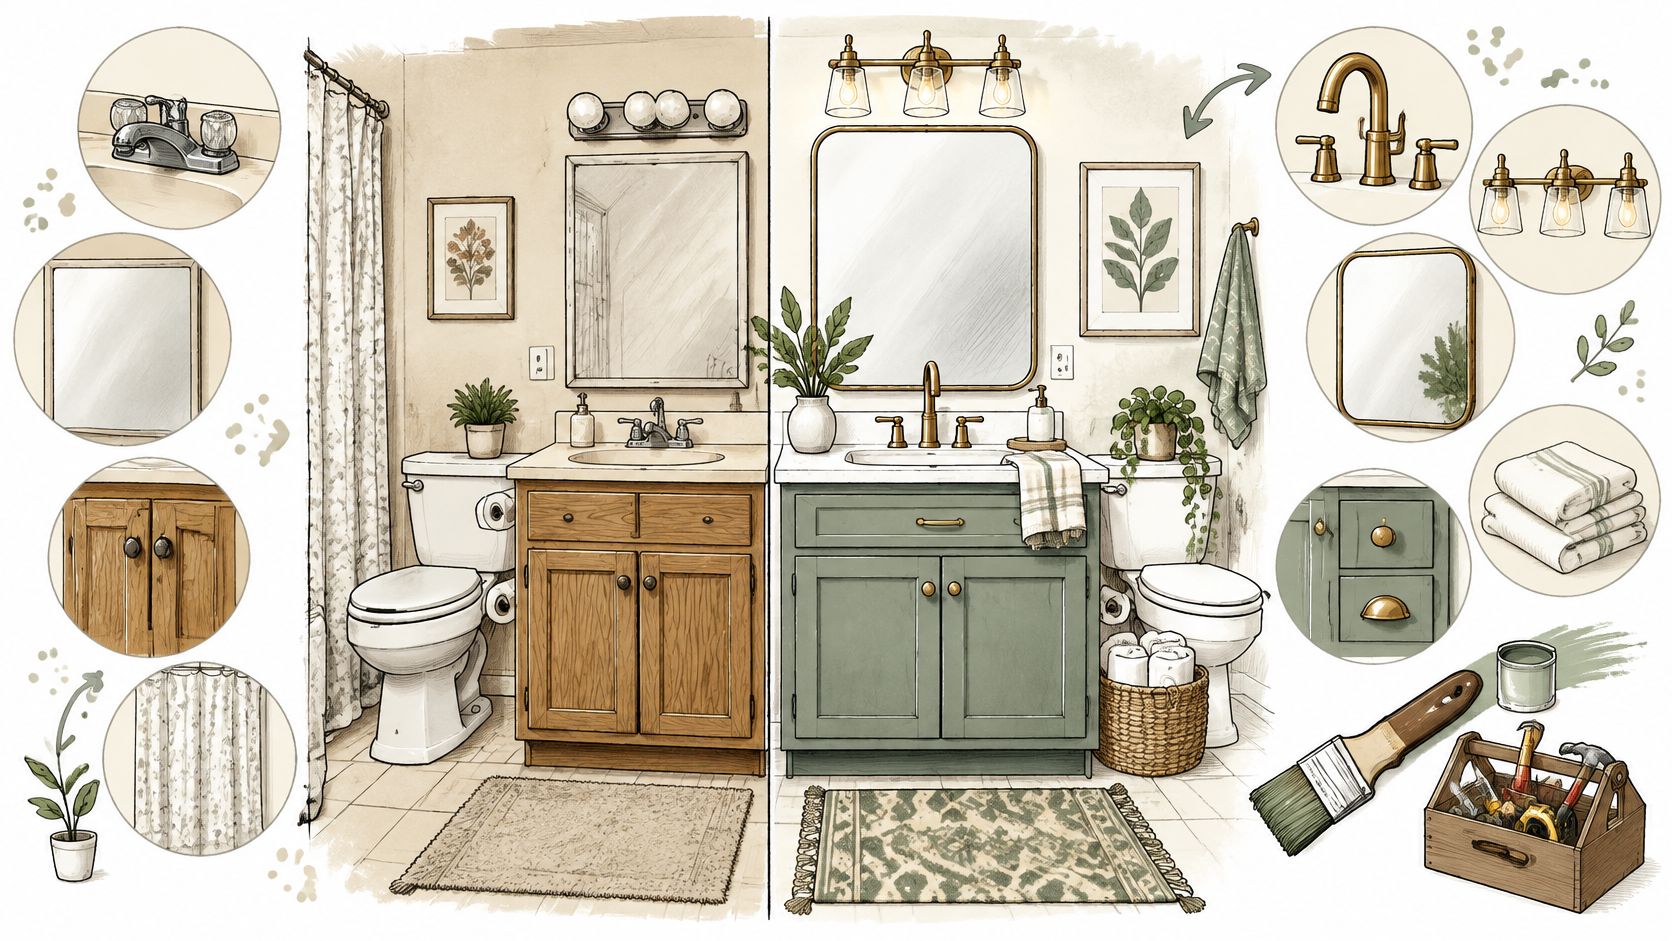
A better bathroom can cost less to operate, without anyone swinging a sledgehammer. The U.S. Environmental Protection Agency estimates that a high-efficiency bathroom makeover using a WaterSense toilet, showerhead, and faucet aerator can save nearly 10,000 gallons of water annually. That's a good argument for replacing tired fixtures before ordering a dumpster.
A dated bathroom rarely needs demolition just because its oak cabinets and oversized mirror have fallen out of fashion. The strongest budget transformations usually come from changing the surfaces, fixtures, and lighting you notice every day while keeping sound cabinets and existing plumbing locations.
Start with what's wet, loose, or leaking. Paint won't rescue a swollen vanity, and fresh caulk won't repair a failed shower waterproofing system. In Southern California, also pay attention to concrete slabs, coastal moisture, and local fixture requirements before buying materials.
Budget rule: Keep what's structurally sound. Repair what's failing. Spend the remaining money where you'll see and use it.
Updating bathrooms on a budget doesn't mean doing everything yourself. It means choosing DIY work you can finish properly and hiring qualified trades before a cosmetic project turns into concealed plumbing, electrical, or waterproofing work.
1. Painting or Refinishing Bathroom Vanities and Cabinets
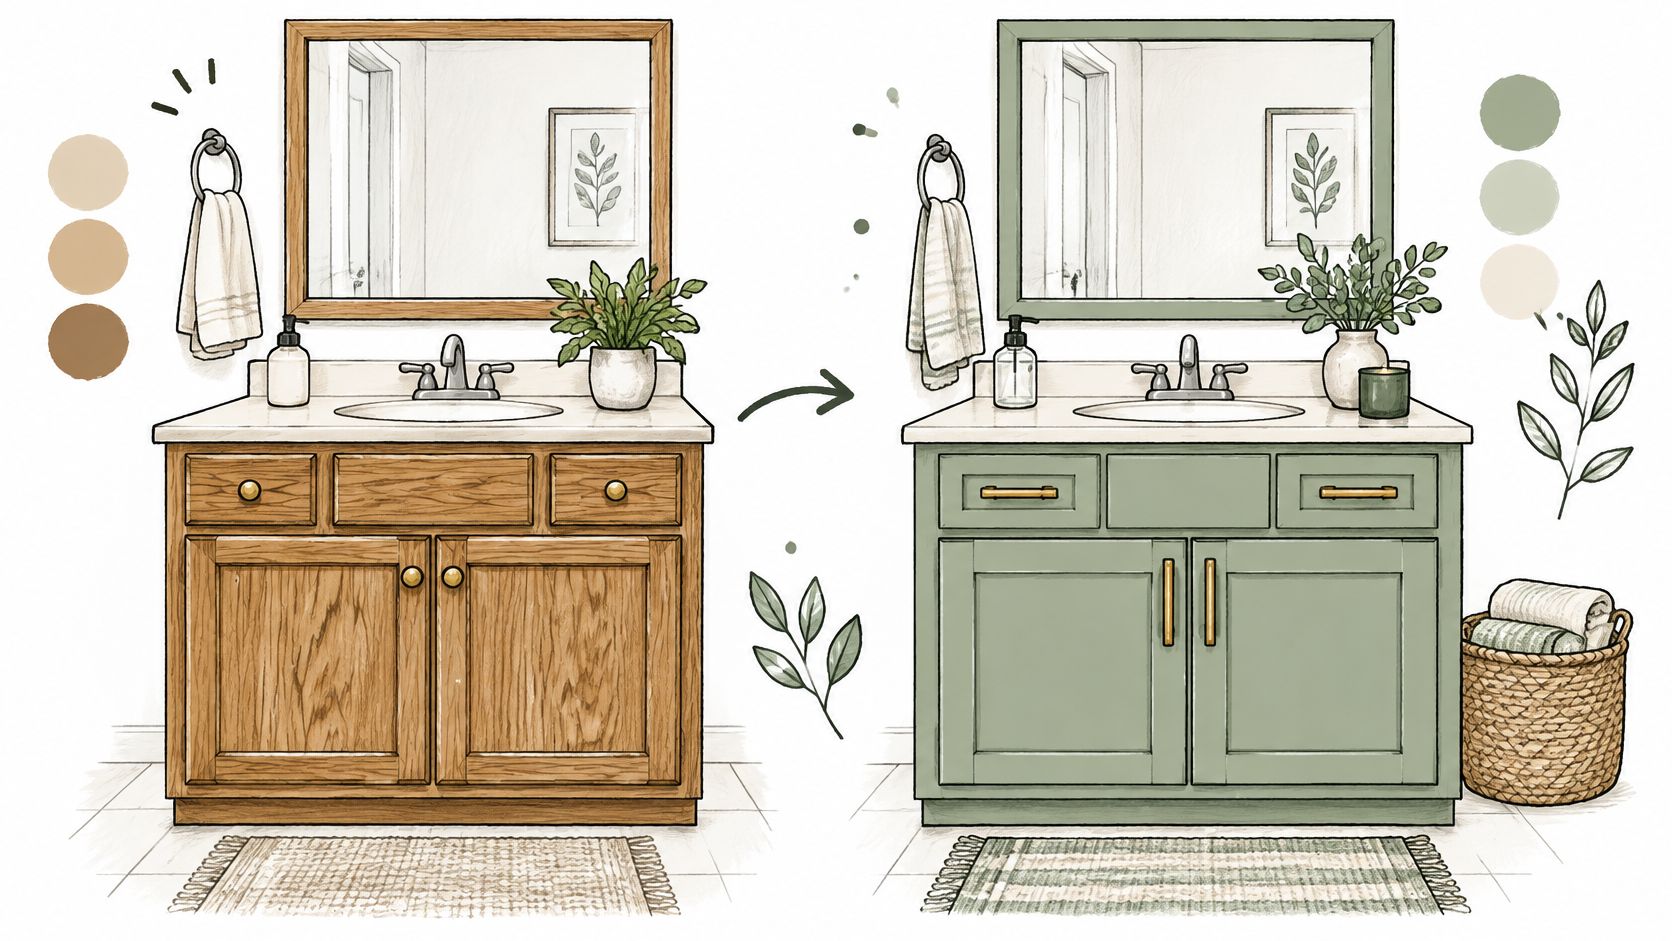
An oak vanity can look dated and still be better built than its replacement. If the cabinet box is solid, the drawers work, and the sink base hasn't swollen from leaks, painting is worth considering.
For an Orange County guest bathroom, sage-green cabinet enamel and brushed-nickel pulls can change the room without disturbing the countertop. Open-grain oak will still show texture unless you fill the grain, which is fine if you want painted wood rather than a factory-flat finish.
DIY the Prep, Hire for a Furniture-Smooth Finish
Remove and label doors, drawers, and hinges. Degrease around handles and sink edges, rinse away cleaner residue, then scuff-sand and vacuum before applying a compatible bonding primer.
- Choose cabinet coating: Use cabinet-grade enamel or a urethane-reinforced coating, not leftover wall paint.
- Match the substrate: Laminate needs intact edges and a primer approved for slick surfaces. Peeling laminate needs repair before paint.
- Respect curing: Dry-to-touch isn't ready for scrubbing, tight hardware, or damp towels. Follow the coating's full cure schedule.
A small vanity is manageable DIY work if you have somewhere clean to paint. Hire a cabinet painter for extensive built-ins, spray finishing, or stubborn existing coatings.
Where it fails: Painting over hairspray residue, polishing wax, or damp particleboard produces peeling, not savings. Before replacing the entire assembly, compare that larger scope with the average cost to remodel a master bathroom so you don't confuse a cabinet refresh with a full renovation.
2. Fixture and Hardware Replacement with Water-Efficient Faucets and Showerheads
A showerhead swap is approachable. A seized shutoff valve is a different project wearing the same outfit.
For a Los Angeles guest bath, keeping the existing sink and replacing a tired faucet, showerhead, towel bar, and pulls can create a coordinated look without opening walls. Buy visible metalwork from the same finish collection when possible, because brushed brass and matte black vary between manufacturers.

WaterSense is useful beyond the label's appearance. The EPA's WaterSense statistics and facts state that labeled products are at least 20% more water-efficient than standard models while providing equal or better performance.
Know Which Connections You're Disturbing
DIY: Replace cabinet pulls, properly anchored accessories, an accessible aerator, or a showerhead when the existing connections are sound. Hold the shower arm steady while loosening the old head so you don't twist concealed piping.
Hire a plumber: Replace corroded supply connections, unreliable shutoffs, leaking valves, or anything requiring work behind the wall. Decorative shower trim must match the existing valve manufacturer and compatible valve series.
Measure the sink's hole arrangement before shopping. For Southern California installations, have the plumber confirm California fixture compliance and any applicable local water-agency requirements; WaterSense certification alone isn't a complete compliance review.
Where it fails: Overtightening threaded fittings, forcing frozen valves, and buying incompatible trim can turn an inexpensive refresh into repair work. Clean and dry every connection, run the fixture, then check again for seepage before storing anything underneath.
3. Lighting and Exhaust Fan Upgrade
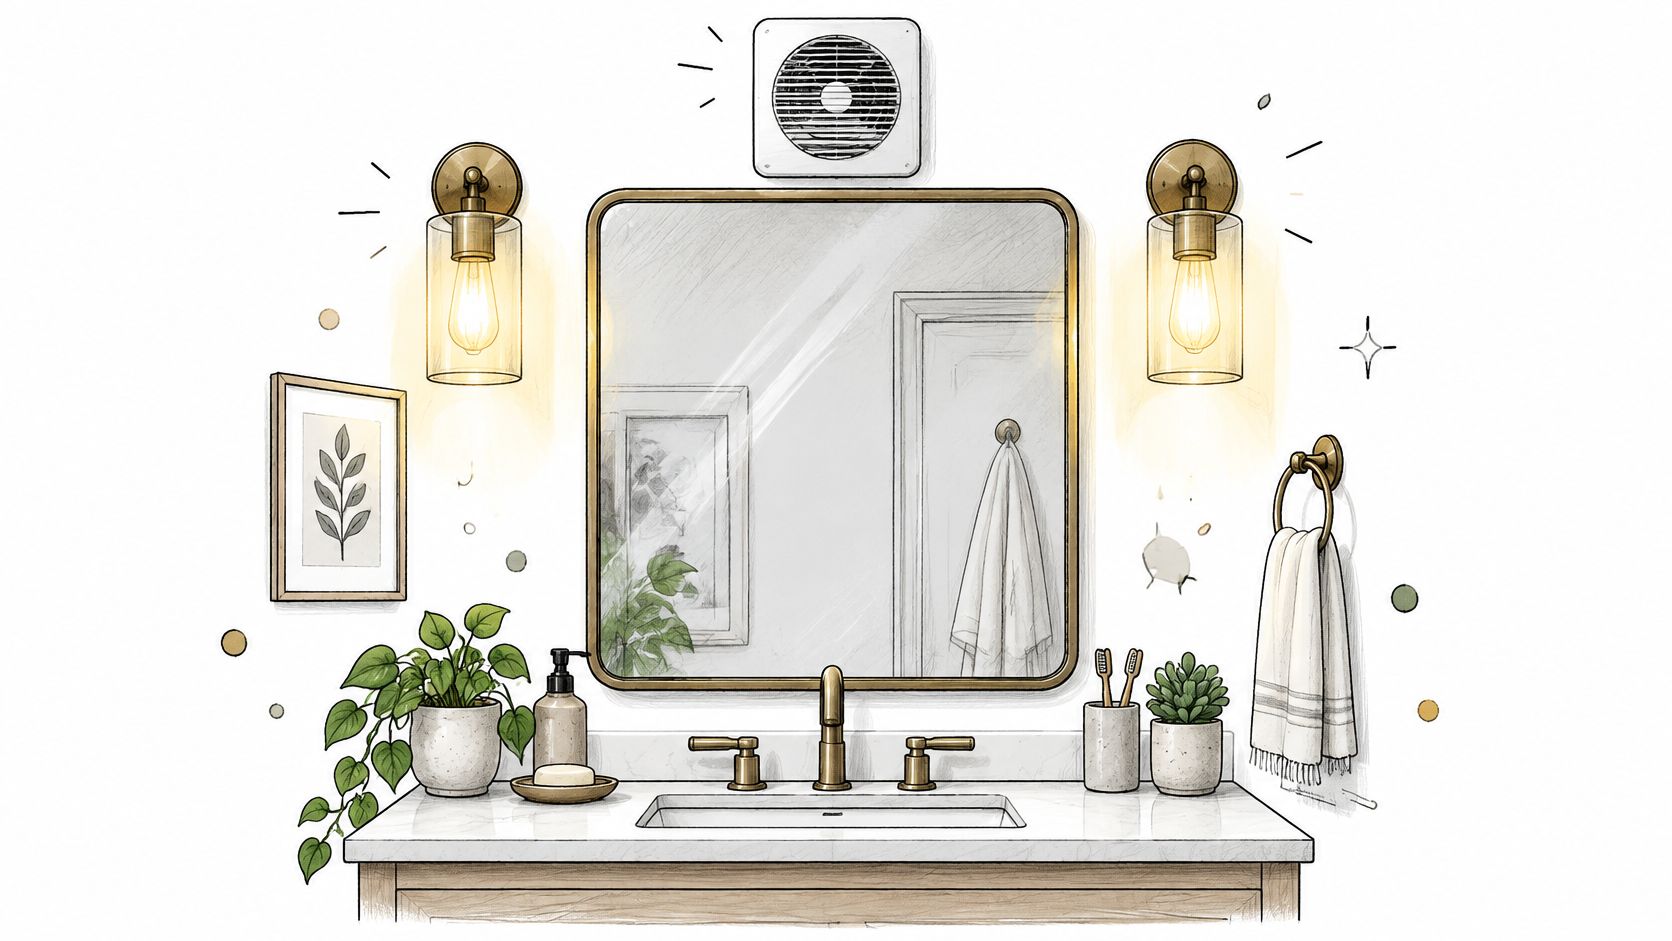
If your bathroom makes everyone look tired, the problem might be above the mirror. Harsh overhead light creates shadows, while an underperforming exhaust fan leaves moisture on the finishes you're trying to preserve.
Consider an interior Los Angeles bathroom with an overhead globe and a noisy fan nobody uses. A diffused vanity light plus a quieter, properly ducted fan improves daily use more than decorative tile would.
Separate Cosmetic Changes from Electrical Work
Choose lighting that illuminates faces rather than just the ceiling. Side-mounted sconces can work well, but a diffused fixture above the mirror is often easier when you're keeping the existing electrical box.
- Check compatibility: Pair dimmable LED fixtures with an LED-compatible dimmer.
- Check location ratings: Fixtures near bathing areas need approval for their actual installation location.
- Check the whole fan system: Fan capacity, duct diameter, bends, termination, and replacement air all affect performance.
A homeowner can clean an accessible fan grille or replace a bulb after following the equipment's safety instructions. New wiring, relocated boxes, and fan installation belong with qualified trades, with local permit requirements confirmed before work begins.
A quiet fan connected to a crushed or disconnected duct is still a poor ventilation system.
Southern California's dry reputation doesn't stop shower condensation, especially in coastal homes and enclosed bathrooms. The fan must discharge outdoors, not into the attic.
Where it fails: Buying a powerful fan without inspecting its ductwork can leave the room damp and noisy. Don't paint over recurring ceiling stains until you've identified whether the cause is condensation, a roof leak, or plumbing above.
4. Mirror and Medicine Cabinet Replacement
A large mirror can brighten a small bathroom, but replacing it with a tiny decorative mirror often sacrifices function for a showroom photograph. Check whether everyone using the sink can see comfortably before choosing the shape.
For an Irvine guest bath, a framed mirror that aligns with the sink and complements the new cabinet hardware can be enough. In a crowded family bathroom, a surface-mounted medicine cabinet may deliver more value by moving toothbrushes and skincare products off the countertop.
Surface-Mounted Is Usually the Simpler Budget Choice
A recessed cabinet looks tidy, but the wall cavity may contain a vent pipe, wiring, or framing that can't disappear. An exterior wall also introduces insulation and enclosure details that deserve attention.
DIY works for a manageable framed mirror when you can identify the wall construction and install appropriately rated mounting hardware. Use the manufacturer's hanger system, and verify that a cabinet door won't hit a sconce or adjacent wall.
Hire help for large glued mirrors, heavy glass, recessed cabinets, or hardwired lighting. Removing a glued builder mirror can break the glass and damage drywall, so include patching and disposal in the scope.
- For ordinary mirrors: Use mirror-compatible adhesive where specified; general construction adhesive can damage the backing.
- For illuminated mirrors: Confirm electrical access and suitability for the bathroom location before ordering.
- For storage: Check usable shelf depth, not just the cabinet's outside dimensions.
Where it fails: Recessing a cabinet without inspecting the cavity can erase the savings immediately. A well-mounted surface cabinet is a better budget decision than relocating plumbing solely to hide a storage box.
5. Peel-and-Stick and Luxury Vinyl Plank (LVP) Flooring
Waterproof planks don't create a waterproof bathroom. Water can still reach the slab, subfloor, walls, or adjoining rooms through edges and penetrations.
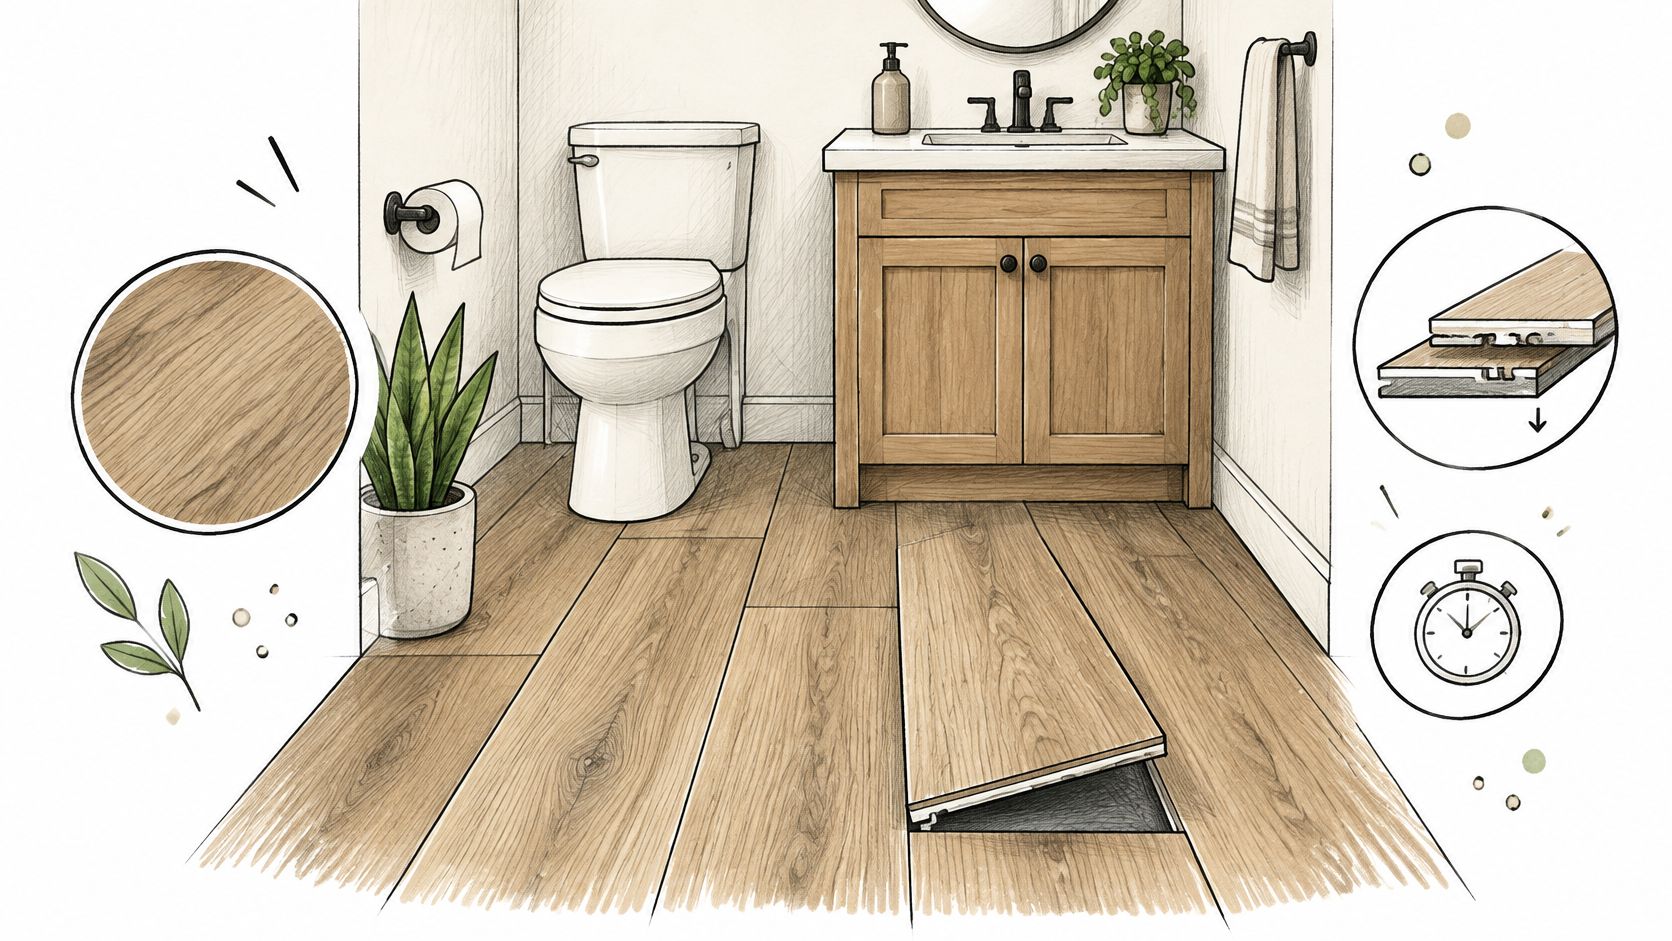
Click-lock luxury vinyl can work well on a sound bathroom floor. Peel-and-stick tile is better suited to a dry powder room than a heavily used bathing space where puddles and repeated cleaning challenge the adhesive.
On a Southern California Slab, Check Moisture First
Say an Inland Empire powder room has sound existing tile with pronounced grout joints. The right approach might be approved patching and smoothing before new flooring, not laying thin adhesive tiles directly over the pattern.
Concrete that looks dry can still transmit moisture. Follow the flooring system's slab-testing requirements and use only its approved vapor-control method; adding generic plastic beneath an adhesive product can create another problem.
- Prepare the base: Remove loose material, flatten irregularities, and address moisture before installation.
- Handle fixtures properly: Remove the toilet for a clean installation, then verify the flange and reset it with an appropriate new seal.
- Preserve movement: Follow expansion-gap and wet-area sealing details without trapping a floating floor beneath fixed cabinetry.
DIY makes sense when the substrate is already suitable and you're comfortable with cutting and layout. Hire a flooring professional for slab remediation, extensive leveling, or uncertain older materials that may require testing before disturbance.
Where it fails: Soft underlayment, uncorrected ridges, and trapped moisture can cause joint damage or adhesive failure. If you're also considering warmth underfoot, review heated bathroom floor costs before choosing flooring, since heating-system compatibility affects the entire assembly.
6. Tub and Tile Reglazing or Refinishing
A pink bathtub can be sound, functional, and thoroughly unwanted. Refinishing can change its appearance without removing the tub, but it isn't a repair for movement, hidden leaks, or failed shower waterproofing.
For a Riverside County guest bath with an intact tub and dated color, professional refinishing can preserve the existing layout. The useful comparison is coating a healthy surface versus replacing a damaged assembly, not paint versus demolition.
This Is Usually a Pro Job
Tub refinishing involves aggressive preparation and specialized coatings. A bathroom window and a household fan aren't substitutes for the coating system's required exposure controls and safe exhaust arrangements.
Before committing, get a written scope covering:
- Substrate condition: Identify cracks, corrosion, flexing fiberglass, loose tile, and previous coatings.
- Coating system: Confirm preparation, repairs, product identity, and which surfaces are suitable for treatment.
- Return to service: Get clear curing instructions, household safety precautions, cleaning requirements, and warranty exclusions.
A professional finish still needs gentler treatment than many original factory surfaces. Use nonabrasive cleaners approved for the coating, and check restrictions on suction mats and bath accessories.
Refinishing changes the wearing surface. It doesn't rebuild what's underneath.
Where it fails: Poor preparation can cause peeling around drains and edges. Movement or moisture behind the coating can also ruin an otherwise attractive finish.
If the complaint is difficult tub access rather than its color, compare refinishing with a tub-to-walk-in-shower remodel. That's a different scope involving drainage and waterproofing, so don't treat it as a cosmetic upgrade with a larger paint bill.
7. Grout Cleaning, Recoloring, and Caulk Replacement
Before replacing dated tile, clean it properly. Grimy joints and ragged caulk can make an otherwise serviceable shower look neglected.
For a Los Angeles rental bathroom, cleaning the tile, recoloring compatible grout, and replacing failed perimeter silicone can create a consistent appearance without demolition. The important word is serviceable: loose tiles, recurring cracks, and damp walls need diagnosis first.
DIY the Finish, Not a Hidden Leak
Start with a cleaner suitable for the tile and grout. Avoid acidic products on acid-sensitive stone, and don't mix cleaning chemicals.
After cleaning and drying, test grout colorant in an inconspicuous area. Some grout types need different preparation, and applying colorant over soap residue or sealer can prevent adhesion.
- Remove failed caulk: Cut it out carefully and remove residue without slicing into concealed waterproofing.
- Dry the joint: Don't trap moisture beneath fresh sealant.
- Use the right sealant: Choose bathroom-grade silicone compatible with the adjoining materials, then tool a continuous joint.
- Wait before use: Follow the actual grout, colorant, or silicone product's curing instructions.
Changes of plane, such as wall corners and tub-to-tile joints, generally need flexible sealant rather than rigid grout. Tape can help make clean edges, but remove it while the sealant is still workable.
Where it fails: Smearing new caulk over old caulk rarely produces a dependable bond. Also, grout and caulk aren't substitutes for the waterproofing behind the tile.
Hire a tile or waterproofing professional when grout repeatedly cracks, tiles move, or staining returns outside the wet area. Another tube of silicone won't fix a moving shower base.
8. Vanity Top and Sink Replacement Using Quartz Remnants or Drop-In Sinks
Keep the cabinet, change the top, and you can get much of a new vanity's visual impact without replacing everything underneath. This works best when the cabinet is level, securely attached, and free from water damage.
For a Long Beach guest bath, a compatible stock top with an integrated basin may be simpler than a custom slab. An Orange County primary bath might justify a quartz remnant if the available piece fits the cabinet and desired sink layout.
Compare Installed Scope, Not Just Material Price
A remnant isn't automatically a bargain once you add templating, cutouts, edge finishing, backsplash pieces, delivery, and installation. Confirm the complete installed scope before choosing the stone.
A drop-in sink needs a suitable cutout and leaves a rim to clean. An undermount basin gives you a cleaner countertop transition, but it needs proper support and a compatible top.
- Measure the existing conditions: Include wall irregularities, cabinet depth, door clearances, and faucet placement.
- Check the plumbing: A different basin depth can interfere with drawers or require drain changes.
- Inspect cabinet support: Don't place heavy stone on a weak or poorly secured box.
DIY can suit removal of an uncomplicated top after the plumbing is safely disconnected, provided you can manage its weight without damaging the cabinet. Leave stone cutting to a fabricator, and use a plumber for questionable shutoffs, drain alterations, and final connections.
Where it fails: Ordering from cabinet dimensions alone can leave gaps against crooked walls. Removing a heavily glued backsplash can also damage drywall, so allow for repair rather than assuming the new top will cover everything.
Putting It All Together Without Blowing the Budget
A budget bathroom update succeeds on where the money goes. Spend on the work that is expensive to redo: waterproofing details at the tub, a quiet exhaust fan that vents outside, and solid plumbing connections. Save on surfaces a homeowner can swap later, like hardware, mirrors, and paint.
The honest dividing line is risk. Cosmetic tasks reward DIY effort, while anything behind a wall, tied to a drain, or connected to wiring is where a cheap mistake becomes an expensive repair. In Southern California, water rules make efficient faucets and showerheads the practical default, and slab floors limit how easily plumbing can move. Layouts that keep the existing supply and drain locations almost always cost the least.
The steps below order the work so each upgrade builds on the last instead of undoing it.
8 Budget Bathroom Upgrades at a Glance
Use this as a DIY-versus-pro filter, with Southern California realities in mind: water-efficient fixtures matter under local rules, slab floors make flat subfloors less forgiving, and bathrooms need exhaust that clears humidity.
| Upgrade | Typical Timeframe | DIY-Friendly? | Impact Level | Best For |
|---|---|---|---|---|
| Vanity and cabinet painting or refinishing | A few days | Yes, with careful preparation | High | Updating functional cabinets affordably |
| Water-efficient faucets and showerheads | One to three hours for most swaps | Yes, for simple replacements | High | Quick style and water-efficiency upgrades |
| Lighting and exhaust fan upgrade | Half a day to a weekend; longer with new wiring or duct runs | Sometimes; electrical work may need a professional | High | Better lighting, ventilation, and moisture control |
| Mirror and medicine cabinet replacement | Relatively quick for surface-mounted mirrors | Yes, for surface-mounted mirrors | Moderate | Refreshing style or adding storage |
| Peel-and-stick and LVP flooring | Quick for a single bathroom; often a weekend | Yes, if the subfloor is sound | High | Affordable, warm, moisture-resistant flooring |
| Tub and tile reglazing or refinishing | One to three days, plus curing time | Usually best left to professionals | High | Refreshing worn tubs or tile without demolition |
| Grout cleaning, recoloring, and caulk replacement | A weekend | Yes, with basic tools | Moderate | Refreshing grout and improving water protection |
| Vanity top and sink replacement | A few hours for drop-in swaps; one to three weeks when a remnant needs templating | Sometimes; plumbing or fabrication may need professionals | High | Updating a sound vanity without replacing the cabinet |
Putting It All Together and Sequencing Your Budget Bathroom Update
Start with an inspection, not a shopping cart. Run the fixtures, check beneath the vanity, look around the toilet base, and inspect the shower's corners and adjoining walls. Resolve leaks, loose materials, and ventilation problems before spending money on finishes.
Keep the project's scope honest. The 2025 U.S. Houzz Bathroom Trends Study reports a 2024 median renovation spend of $13,000 across bathrooms, compared with $22,000 for major remodels that included at least a shower upgrade. Those national medians aren't Southern California quotes, but they underline why a cosmetic refresh and a wet-area rebuild shouldn't share the same budget assumptions.
Sequence the Work Around Dependencies
Address moisture and maintenance first, including failed caulk, damaged grout, and inadequate exhaust. If the finishes hide a larger problem, stop and investigate instead of covering it.
Then handle disruptive work before delicate finishes:
- Complete concealed work: Finish necessary electrical, duct, and plumbing changes before patching and painting.
- Refresh retained surfaces: Paint sound cabinetry and walls, allowing coatings to cure before installing hardware.
- Coordinate visible upgrades: Fit the mirror, lighting, fixtures, and accessories around confirmed dimensions.
- Schedule flooring and tops carefully: Decide on these early, even if installation comes later, because heights, support, and plumbing affect neighboring work.
A countertop change isn't automatically structural work, but its weight and connections make it more involved than hanging a mirror. Don't finish painting behind a backsplash that's about to be torn off.
Choose DIY by Consequence, Not Confidence
DIY is sensible when the work is accessible, reversible, and doesn't compromise safety or waterproofing. Painting, cabinet hardware, careful cleaning, and straightforward mirror hanging often fit that description.
Hire qualified help when the work involves concealed leaks, electrical modifications, slab moisture, heavy stone, or wet-area assemblies. Confirm local permit requirements with the relevant jurisdiction before starting, rather than assuming a small room means exempt work.
For homeowners in Orange County, Los Angeles County, the Inland Empire, and Riverside County, we design projects to the client's budget. We're licensed and insured, CSLB #1095347, and can help distinguish a worthwhile refresh from work that needs a more substantial repair.
Visit Epic Remodeling to book a free in-home consultation with a qualified general contractor and plan a bathroom update around your budget. Request a complimentary labor-and-materials estimate using our wholesale material resources, or call 949-594-6444 to discuss what to keep, what to refresh, and where professional work makes sense.