Bathroom Remodel Tub to Walk in Shower Costs
Plan a bathroom remodel tub to walk in shower with real cost ranges, waterproofing checks, and curbless limits.
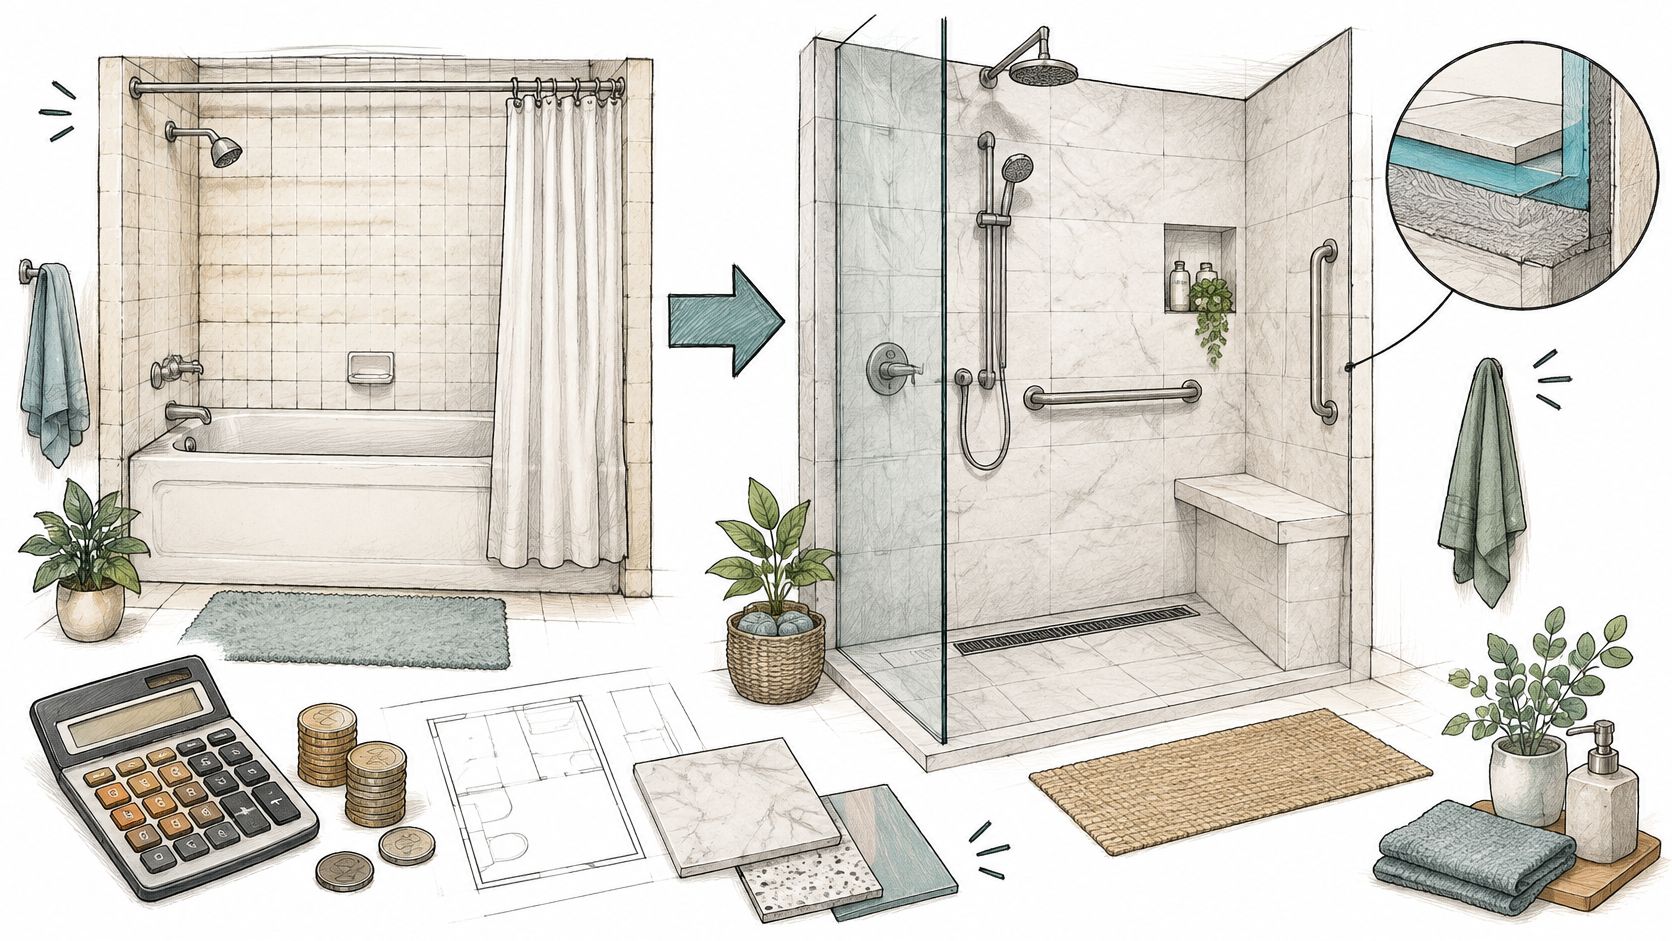
A bathroom remodel tub to walk in shower conversion with a built-in seat and grab bars commonly runs about $10,000–$15,000 or more, and that number moves when the drain, subfloor, or curb choice changes. You're probably standing in a bathroom you like well enough, staring at a tub nobody soaks in, wondering why you're still climbing over that tall rim every morning with wet feet and one hand on a slippery wall. Removing the tub helps, but it doesn't finish the job. What decides whether the new shower is safer is the stuff you can't see in a showroom photo, the slope, drainage depth, waterproofing, and clear floor space underneath and around the tile.
What This Tub to Shower Remodel Costs
Start with the honest band, not the prettiest fixture package. According to AARP's guide to the costs of aging in place, a bathroom renovation that removes the tub and installs a shower with a built-in seat and grab bars may require roughly $10,000–$15,000 or more, depending on scope and materials. That's the baseline for a real conversion. A pan, a door, and a cheerful promise aren't the same project.
AARP also puts that money in context. Approximately 90% of people age 65 and older would prefer to remain in their own homes rather than move to nursing or assisted-living facilities, yet only about 10% of homes nationwide are fully prepared for senior living with a step-free entrance, a first-floor bedroom and bathroom, and bathroom safety features such as grab bars and a built-in shower seat. You're not just buying tile. You're buying the ability to stay put.
Price Your Scope, Not the Photo
| Scope | Cost signal | What changes the price |
|---|---|---|
| Shower with built-in seat and grab bars | $10,000–$15,000 or more | Materials and overall scope |
| Same footprint, existing drain stays | Lower end of the band when floor and framing are sound | Fewer plumbing changes |
| Drain moved or shower larger than the tub | Substantially higher | Plumbing, subfloor, and footprint |
| Curbless or zero-threshold receptor | Higher than a low-curb build on the same footprint | Structural floor depth and slope |
| Soft subfloor or framing reinforcement | Added carpentry before any finish work begins | Damage found after the tub is out |
The table is the whole conversation. If your shower fits the old tub alcove, the drain lands where the new receptor wants it, and the floor is solid, you've got the lower-complexity case. Move the drain, stretch past the alcove, or find a spongy subfloor under a tub that's been leaking for years, and you've bought plumbing and carpentry whether the bid mentioned them or not.
Where Bids Quietly Shrink
Treat this as a coordinated plumbing, waterproofing, drainage, surface, and accessibility project. That means a complete bid names the valve, the drain work, the membrane system, the receptor, the wall reinforcement, and the finish surfaces. When one quote comes in suspiciously light, check which of those line items vanished.
A curbless design deserves special suspicion. A flush entry needs enough structural depth to slope the floor to a linear or center drain without raising the bathroom floor into a tripping step. On a slab or over shallow joists, that can mean real structural work. A contractor who promises curbless before checking the floor is selling a rendering.
Practical rule: Price the row that matches your drain and your floor, not the row that matches your tile sample.
In Orange County and Los Angeles, permit and inspection steps belong in the budget conversation too. A bid that skips documents and inspections isn't necessarily cheaper. It's often just incomplete, and you'll pay for the missing scope later as a change order or, worse, as a tear-out. If you're building a full bathroom remodel estimate, force every bidder to price the same rows from the table. Same drain assumption, same curb assumption, same seat and bar scope. Once the rows match, the price differences finally mean something. Until then, you're comparing a full project against a partial one and calling the partial one a deal, which is how a $10,000–$15,000 or more job turns into a $10,000–$15,000 or more job plus surprises.
Permits and Bid Checklist Before Demolition
Nobody removes a tub first and asks the city questions later, or at least nobody should twice. Per California municipal guidance for residential bathroom remodels, bathroom renovations generally require permits and clear construction documents. Orange County and Los Angeles don't run identical processes, so confirm your permit scope with your own city or county before demolition is scheduled.
That same guidance describes requirements that commonly include a shower compartment of at least 1,024 square inches that can contain a 30-inch-diameter circle, a minimum 22-inch clear opening, waterproofing to specified heights, and mechanical ventilation. Those numbers matter early. A tub alcove that looks roomy can still produce a compartment that's tight once glass, a seat, and wall thickness eat into it.
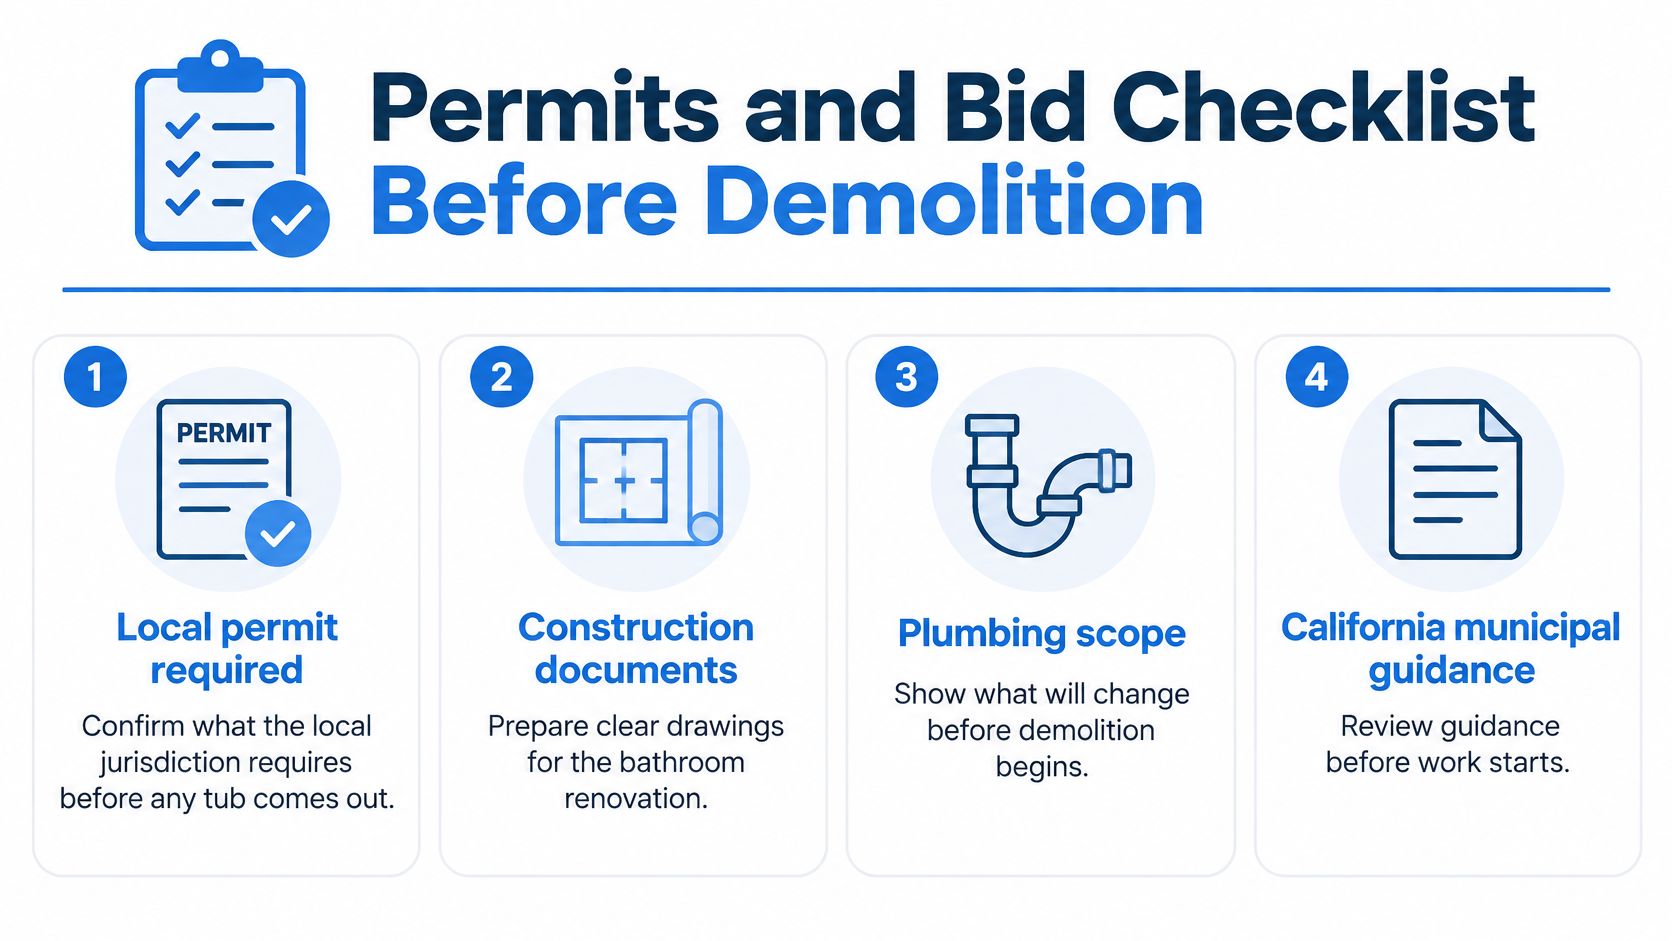
Site-built shower stalls may also require water testing before waterproofing is covered. Build that into the schedule. A flood test that can't happen until an inspector signs off will not care that your tile crew is booked for Tuesday.
Five Questions for Every Bid
- Will the drain move: If yes, the bid should show the plumbing work, not bury it under an allowance.
- Is the subfloor sound: Soft spots near the tub apron or toilet suggest repair money belongs in the base bid.
- Does the fan clear steam: A new shower behind glass still dumps moisture into the room, and an undersized or dead exhaust fan will feed mold at the ceiling corners.
- Is the old valve being replaced: Ask specifically about pressure-balancing and temperature-limiting controls, because reusing an ancient mixing valve behind new tile is false economy.
- Are walls opening for grab-bar backing: Blocking is cheap while studs are exposed and painful after tile.
The same logic applies when you're comparing unrelated plumbing moves, like the cost to move a toilet, where the visible fixture is the smallest part of the price. Drains, vents, and floor structure drive the number.
A lower quote usually isn't a discount. It's an omission with good manners.
Skip the universal one-day conversion pitch. Demolition might be quick, but permits, inspections, waterproofing cure times, and a required water test set the pace. I'd rather see a bidder show you the document list and inspection points up front than promise speed he doesn't control. Walk into every bid meeting with the five questions above and make each contractor answer them in writing. The bidder who flinches at writing down drain, valve, fan, and blocking scope is telling you exactly how the job will be run.
How to Convert the Tub in the Right Order
The tub is out, the framing is exposed, and the drain sits several inches from where the new shower needs it. That is when an orderly conversion pays off: each trade has a defined handoff, and hidden conditions are dealt with before tile covers them. The following sequence reflects common remodeling practice. For grab bars, the U.S. Access Board guide to bathing rooms describes support and clearance requirements for accessible bathing spaces.
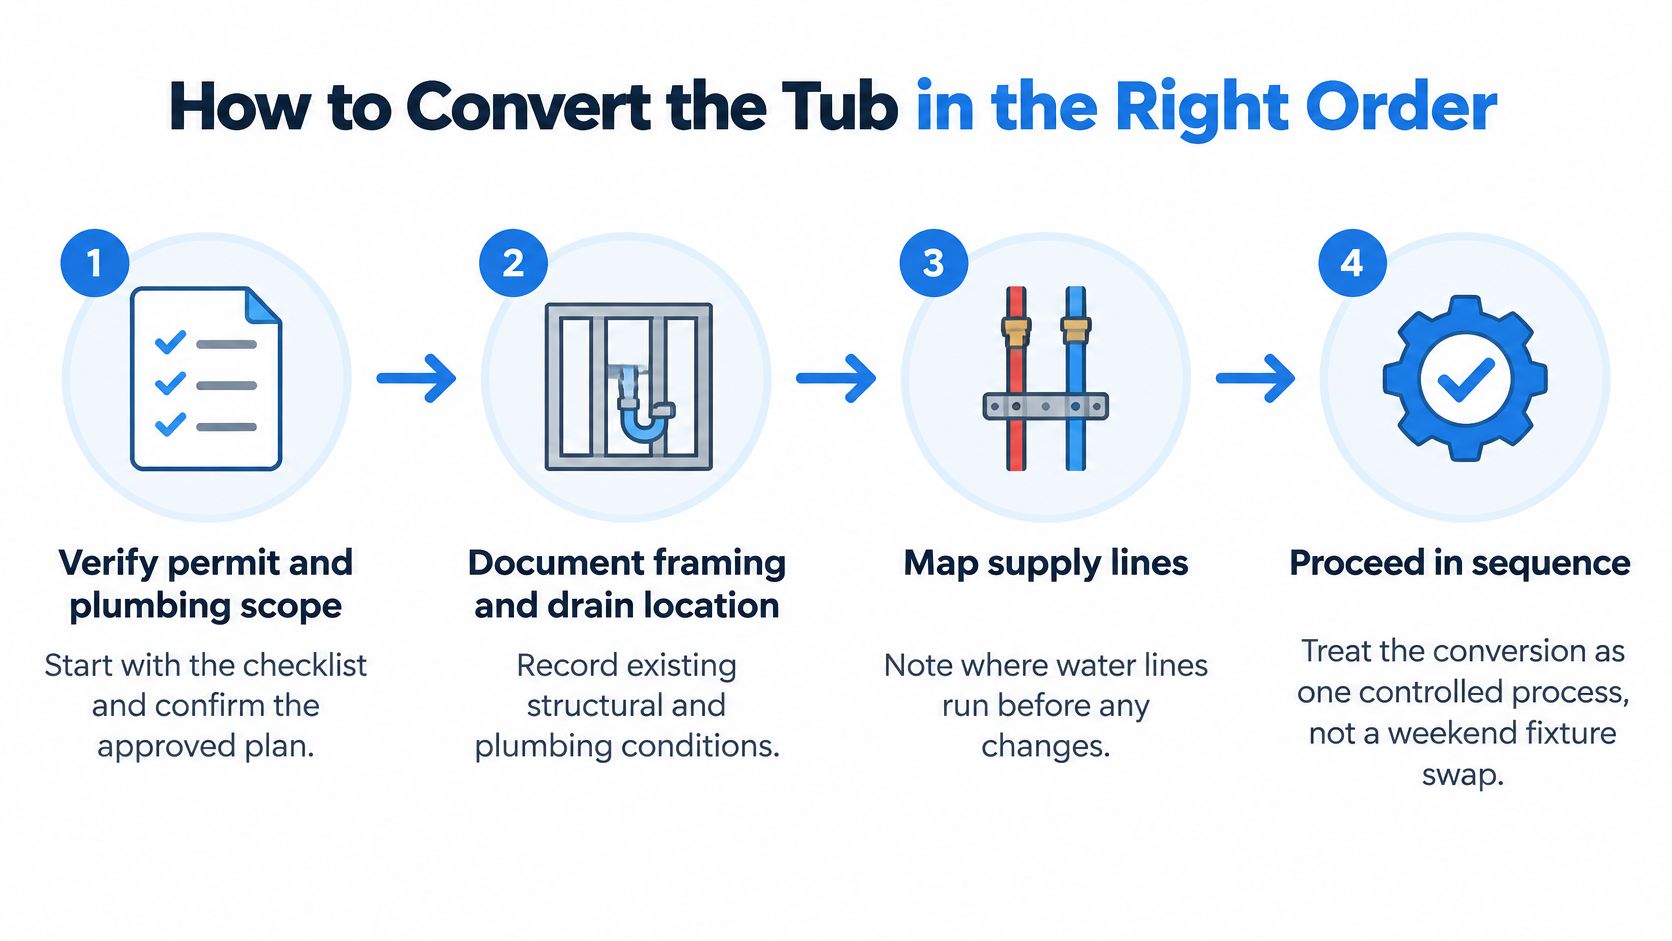
The Six Steps, in Order
- Verify and document: Confirm the permit and plumbing scope. Before demolition, photograph and measure the framing, drain location, supply lines, and subfloor. Demo first and discovery later turns hidden conditions into a dispute over who pays.
- Remove and inspect: Pull the tub without damaging finishes that will remain, then inspect the framing and subfloor. Rot at tub corners or a soft floor near the apron needs repair before the new shower goes in.
- Block the walls: Install solid backing for grab bars, a seat, and glass hardware before closing the walls. Tile and backer board are not substitutes for framing support.
- Rough in drain and controls: Set the drain to match the selected receptor. Place the valve where the bather can reach it without standing in the spray, and plan the handheld shower and slide bar while the walls are open.
- Form the receptor and waterproof: Build a continuous slope to the drain and connect the waterproofing membrane to the drain flange and wall transitions using a compatible system. A mismatched drain and membrane, or an unsealed penetration, can send water into the framing even when the tile looks sound.
- Flood-test, then finish: Follow local requirements for the receptor water test, document concealed work, and finish the walls and floor only after the test passes. Then install tile, sealant, trim, and fixtures.
Why Step Five Decides Everything
The hidden water-management work determines whether a shower stays dry behind the tile. Poor slope, a badly sealed penetration, or a drain connection that leaks can let moisture reach the framing and subfloor long before the surface shows damage.
Hold point: Do not install tile until the required water test passes and the concealed work is photographed.
Plan seat support while the walls are open. For an accessible design, seat height, reach from the entry, and load support should be specified for the intended user and layout. Adding appropriate backing during framing is simpler than opening finished tile later.
Put the waterproofing system and water-test requirement in the contract. Keep pre-tile photos with the permit documents. Good-looking tile cannot correct a flat slope, a loose drain connection, or a membrane that was never properly integrated.
Low Curb Versus Curbless Entry
Curbless is the word everyone wants. Sloped, drained, and dry is what you need. A nominal zero threshold requires precise receptor geometry, the right linear or center drain position, and enough structural floor depth to build fall toward that drain without creating a ramp at the door. The EPA WaterSense guidance on showerheads and diverters is a useful reminder to specify the whole system against benchmarks, since WaterSense labeled showerheads are limited to 2.0 gallons per minute (7.6 liters per minute) or less with independently verified spray force and coverage.
| Feature | Low curb | Curbless |
|---|---|---|
| Entry | Short step over a curb | Flush or near-flush |
| Floor structure | Usually fits existing depth | Needs slope depth in joist or slab |
| Drainage | Center or linear drain in the pan | Precise linear or center geometry |
| Waterproofing edge | Water stays in the receptor | Bathroom floor becomes the wet-zone edge |
| Best fit | Most alcove swaps | Mobility goals when the structure allows |
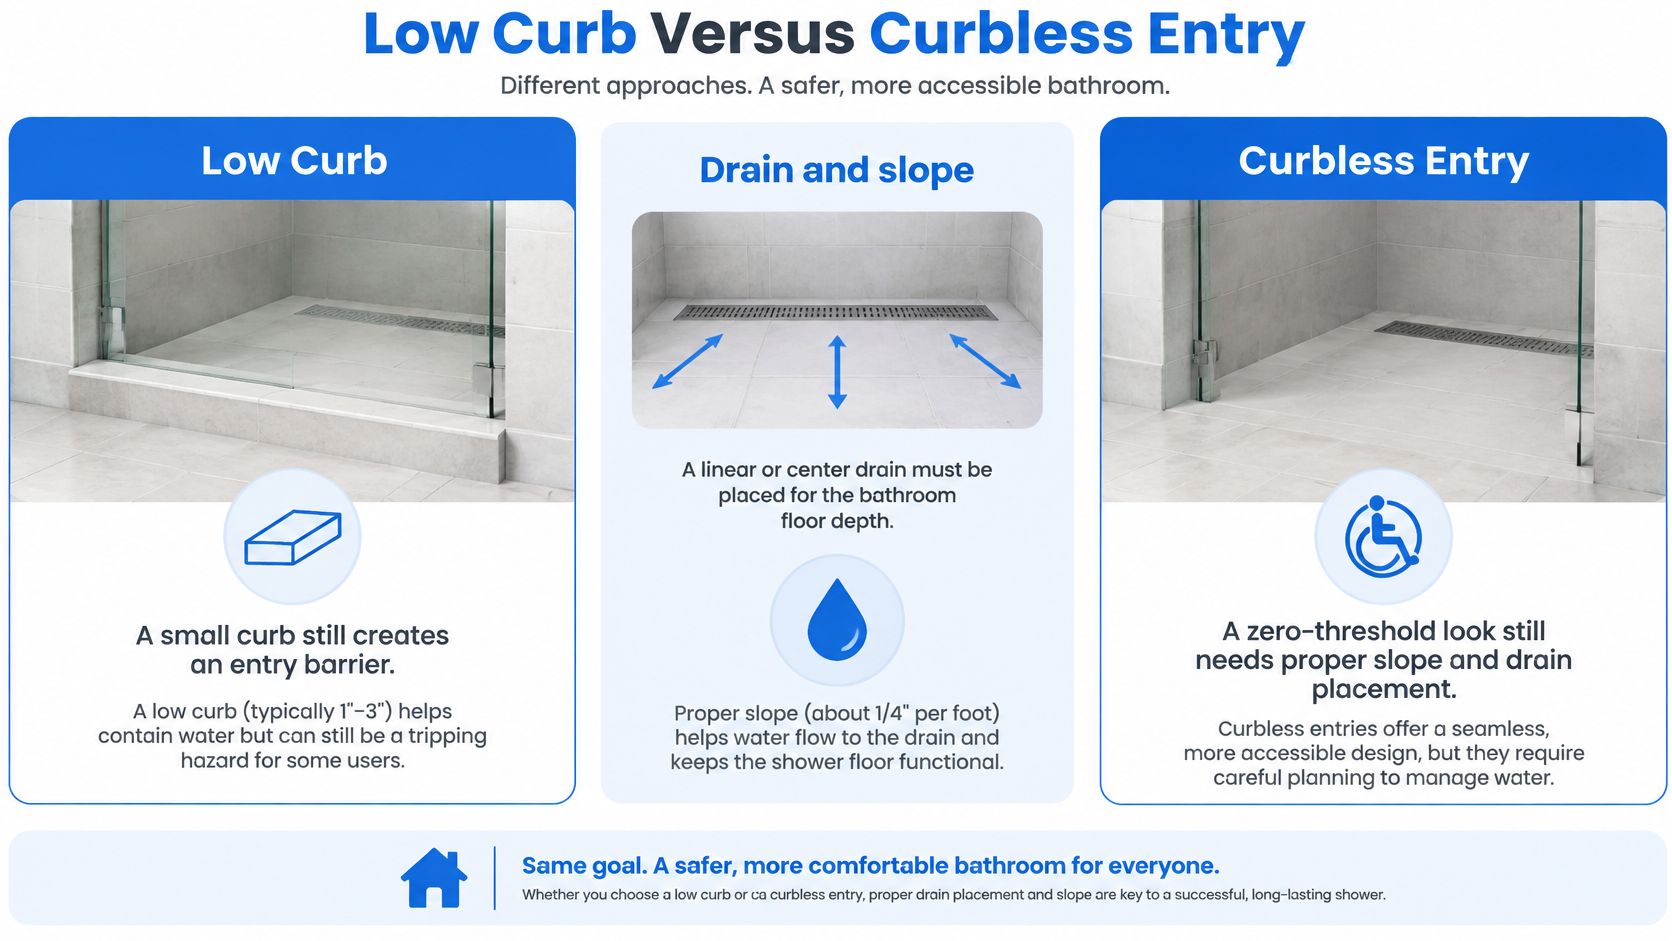
The Floor-Depth Test
Here's the test that picks your row. Measure the available depth between the top of the structural floor and the finished bathroom floor, then ask whether the receptor can slope to the drain inside that depth. If yes, curbless is a real option. If no, you either recess the structure, raise the bathroom floor, or accept a low curb. There is no fourth option where water politely flows uphill.
A low curb isn't a failed curbless shower. It's often the honest answer for a slab that shouldn't be cut or joists that can't lose depth. It still removes the tall tub rim, keeps water decisively inside the receptor, and works for many people who walk into a shower under their own power.
Confirm the existing branch drain can accommodate the new receptor before you fall in love with a drain location. A linear drain at the entry can act as a secondary line of defense on a curbless build, but only when the slope, the drain body, and the membrane are designed together. Bolted-on parts from incompatible systems are where leaks are born.
Three pitfalls show up again and again. People assume a low lip is automatically waterproof, when the curb still needs the membrane carried over and sealed correctly. Glass-door hardware gets mounted without reinforcement, so a heavy panel slowly works its fasteners loose. Controls land behind the user or dead center under the showerhead, so every temperature adjustment means a cold blast or a reach through the spray.
If the floor can't give you slope, the curb isn't the compromise. The curb is the design.
I would choose based on the bather and the structure, in that order. Rolling in, transferring from a chair, or showering seated with assistance pushes hard toward true curbless, provided the floor allows it. Walking in with decent balance, on a slab, points to a neat low curb and money spent on the seat, bars, and handheld instead. Either way, the conversion is a coordinated plumbing, framing, waterproofing, electrical, and finish operation. The threshold is just the part you can see.
A Missing Curb Is Not Accessibility
A shower with no curb can still be hard to use. A safer design typically combines a low or flush entry with grab bars, a secure bench, and a handheld showerhead. Each feature needs to suit the person using it, and the room needs enough clear floor space for standing, sitting, transferring, or assistance.
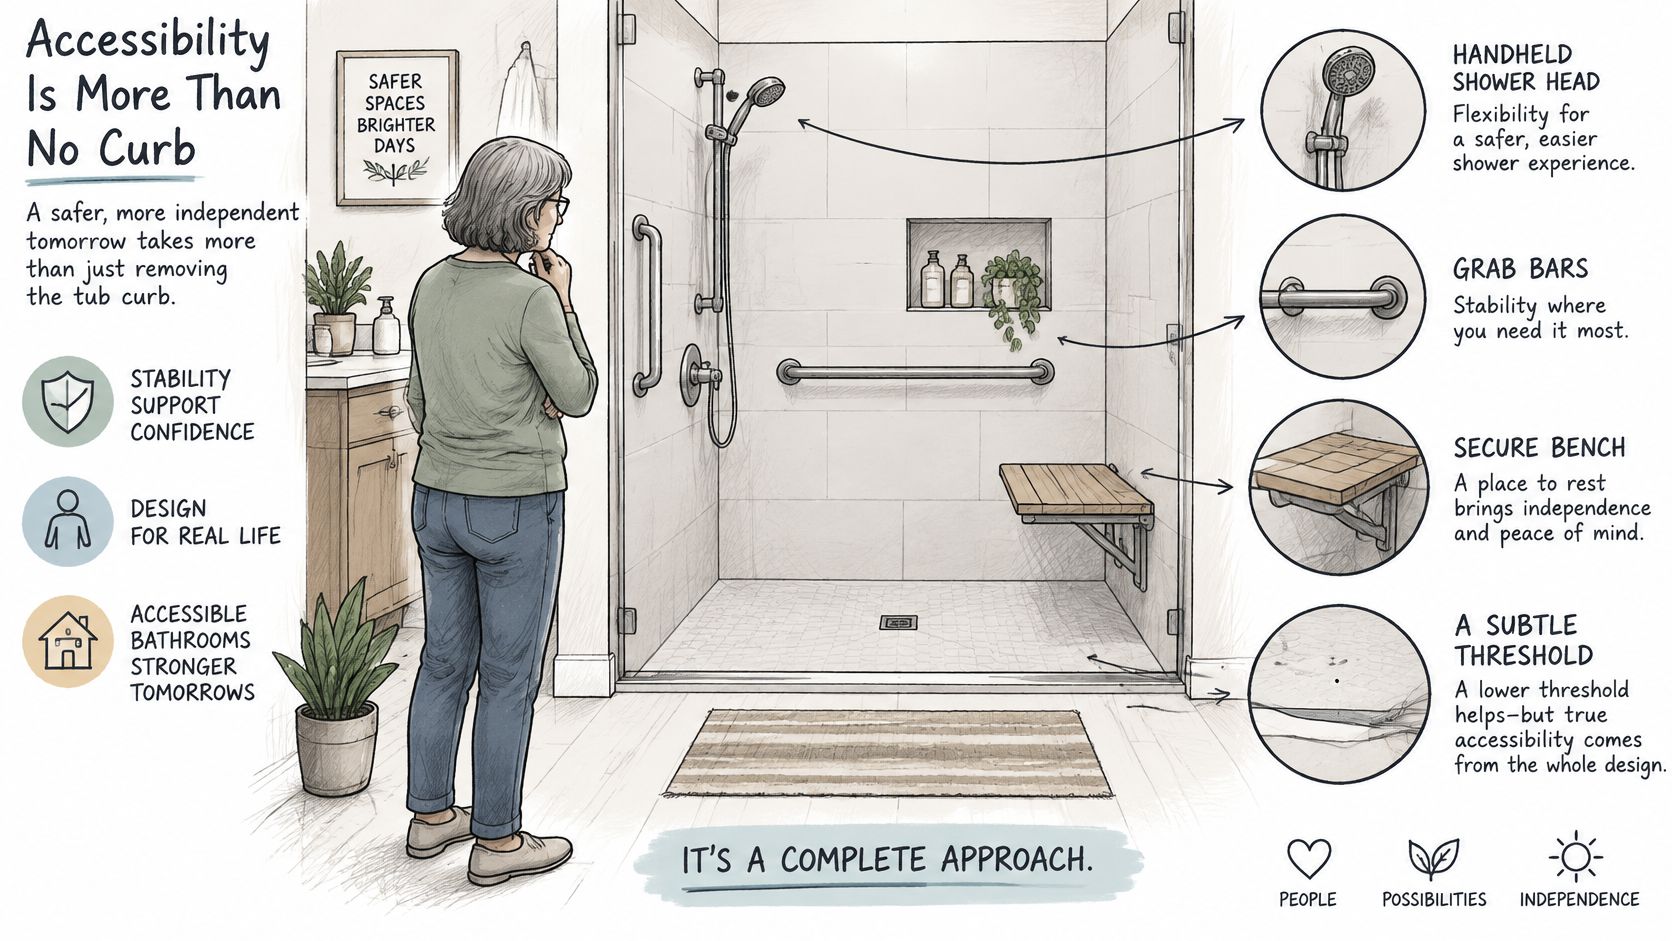
Two Different Goals
Fall-risk reduction serves someone who can walk into the shower but wants a lower entry, a secure place to sit, grab bars at balance points, and a handheld showerhead within reach. Wheelchair transfer capability is a different design goal. It requires planned entry width, turning and transfer space, a seat positioned for a lateral move, and controls reachable from the seat. A plan for the first goal may fall short of the second.
| Element | Reference value |
|---|---|
| Grab bar strength | Resists 250-pound force |
| Grab bar wall clearance | 1.5 inches, no rotation in fittings |
| Grab bar height | About 33–36 inches above shower floor |
| Seat height | 17–19 inches above finished floor |
| Seat placement | Extends to within 3 inches of entry |
| Seat load | Supports 250 pounds |
| Seat size | At least 24 inches long by 16 inches wide where applicable |
These dimensions need to work with the whole room. A bench can meet its intended height and still be awkward to reach if the entry is tight. A transfer space can disappear when a door swings into it or a vanity blocks a helper's stance. The clear floor outside the shower is part of the design, not leftover space.
Tile choice matters underfoot. Large, slick tiles with few grout joints can be harder to grip on a wet, sloped shower floor; smaller slip-resistant mosaics may provide better footing. Place the valve where it can be reached without twisting or leaning into the spray, and check that the door leaves room for transfers and assistance.
Clearances are planned just as carefully in a commercial bathroom remodel, where people with different mobility needs use the same room. At home, define whether the goal is safer walking or wheelchair transfer capability, then put the relevant dimensions on the plan. “Accessible” in a proposal is too vague to build from. Specify the clearances, support locations, and loads the design must accommodate.
Book the Scope Before the Tub Comes Out
You've got a fork in front of you this week, and both paths are respectable. If the existing drain can stay, the subfloor is solid, and a short curb works for everyone who bathes there, get that scope priced, pull permits, and order glass after the opening is measured, not before. That's a clean, buildable project.
If a parent, a partner, or your future self needs a seat, reinforced walls, or a flush entry, freeze those dimensions on the plan before the tub comes out. Blocking locations, seat height, valve placement, and clear floor space are framing decisions. Decided late, they become tear-out decisions.
Bring Three Photos to Any Consult
- The tub alcove: Straight on, showing the valve wall and both corners.
- The floor outside it: This is your transfer and clear space, and it tells the contractor whether curbless is even plausible.
- The door swing: Open the door fully so everyone can see what it clears and what it blocks.
Then ask one question and listen carefully to the answer. Does the bid include the membrane, a flood test, valve replacement, fan upgrade, and blocking, or only tile and a door? Vague answers here predict wet walls later with depressing accuracy.
Before you sign: If it isn't in the written scope, it isn't in the price, no matter how confidently it was mentioned in your kitchen.
Homeowners who want one accountable crew can book Epic Remodeling for a free in-home consultation through the contact form or by calling 949-594-6444. We're licensed and insured, CSLB #1095347, and the visit is meant to match the shower to your budget and your floor structure rather than to a showroom photo. Make that call with a note on who will step into this shower every day, and what that person needs from it in five years. That single sentence does more design work than an afternoon of tile samples.
Ready to price the version of this conversion your bathroom can support, drain, slope, seat, and all? Visit Epic Remodeling to book a free in-home consultation, and we'll walk your alcove, check the floor, and build a written scope around the people who'll use the shower every day.