Kitchen Island vs Peninsula: Which Layout Fits Your Room
Kitchen island vs peninsula compared on circulation, seating, storage, cost and accessibility, with clear rules for picking the right layout.
Nearly 40% of homeowners chose table-based workstations instead of traditional islands in a 2025 U.S. survey attributed to the National Association of Home Builders, according to The Economic Times. That's a useful reason to pause before treating a built-in island as the default. Say you're replacing your cabinets, and the drawing shows a beautiful central counter. Before choosing the stone, you need to know whether someone can open the refrigerator while someone else carries breakfast past it.
Island or Peninsula, and Why the Answer Starts With Circulation
Say your kitchen opens onto the family room. You want somewhere to chop vegetables, set out dinner, and sit with a laptop. An island and a peninsula could both supply that surface, but they ask very different things of the surrounding floor.
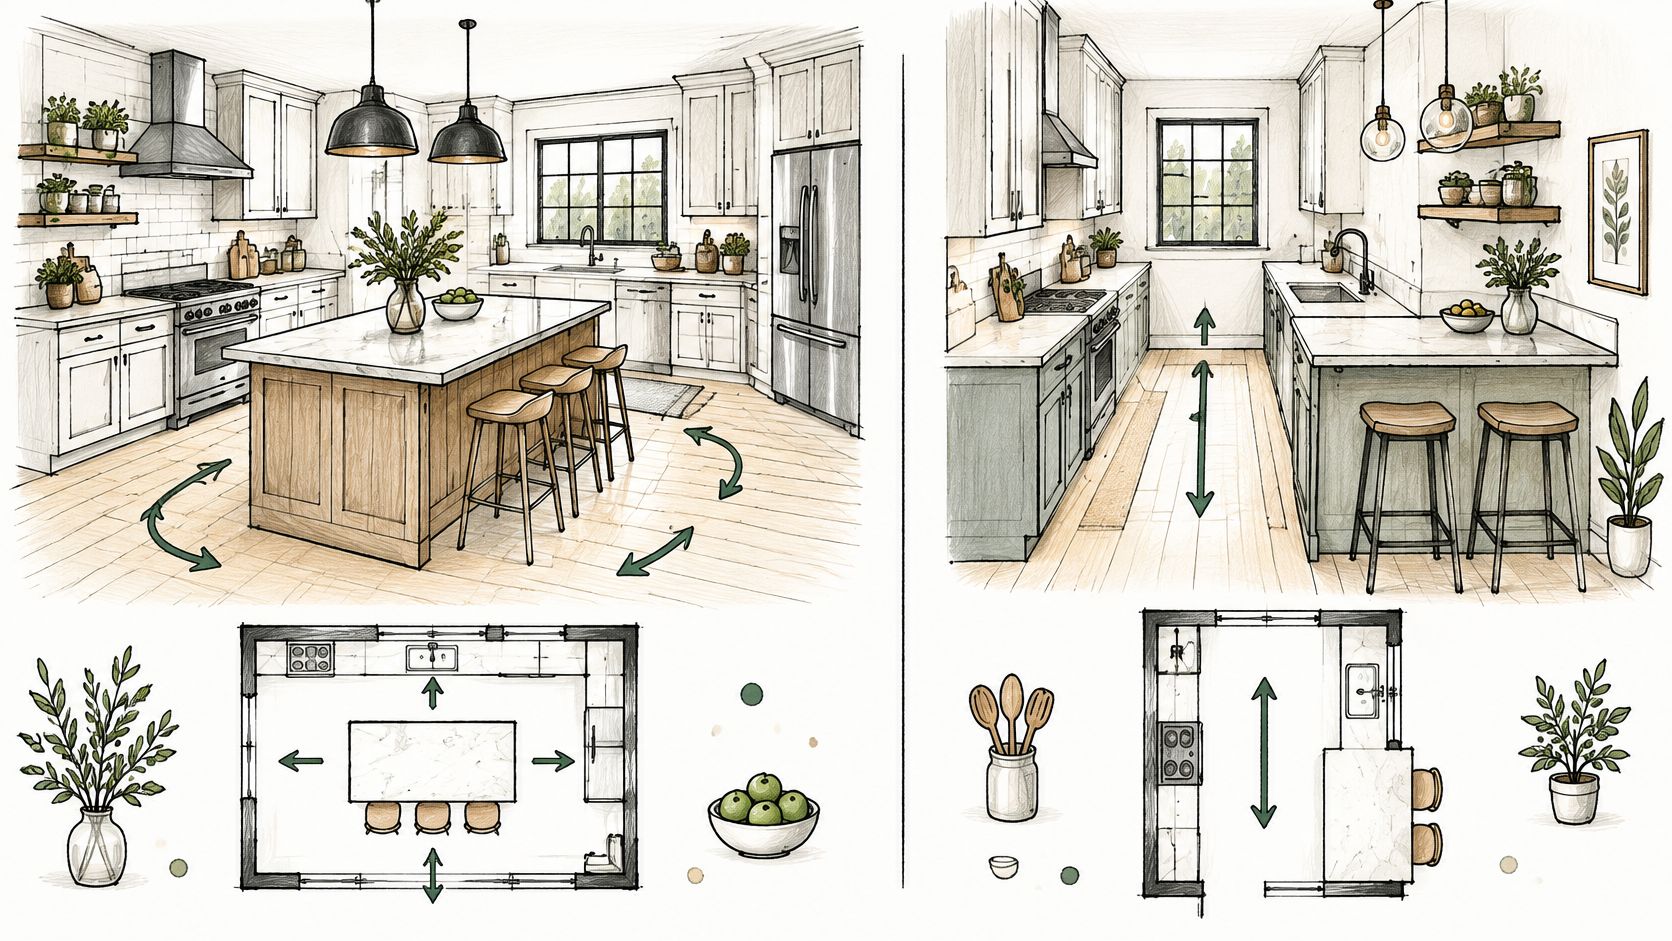
A kitchen island stands free, with access around every side. A peninsula attaches to a wall or cabinet run at one end, leaving the remaining sides exposed. That attachment changes where people can enter, pass, sit, and work.
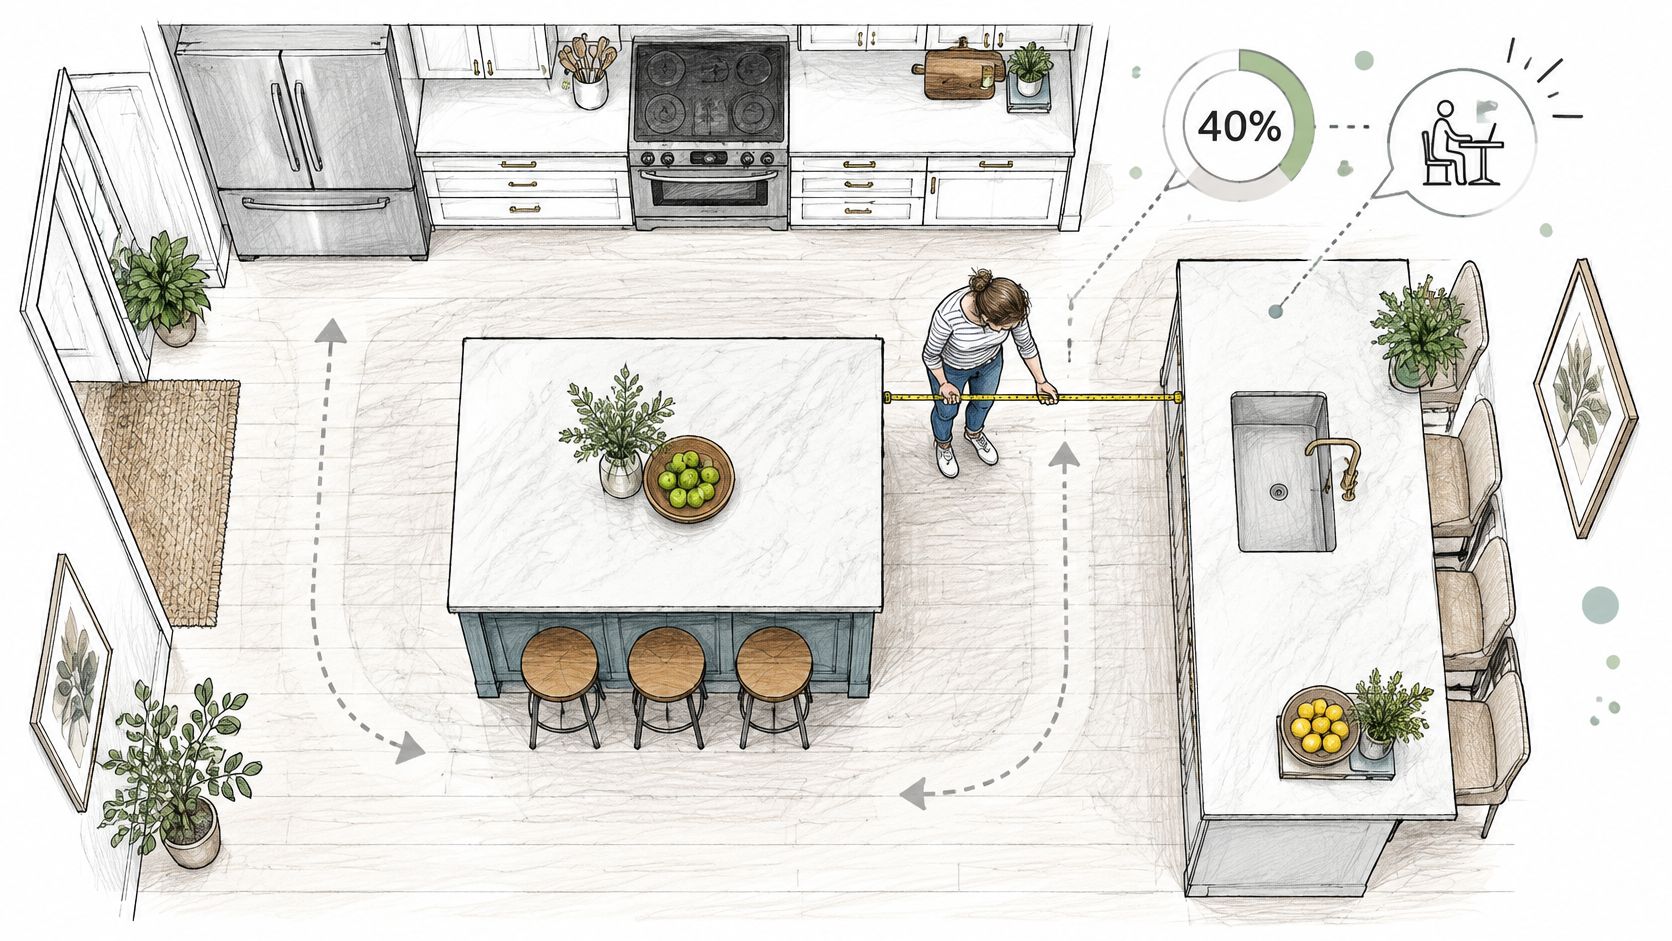
On a floor plan, both options might look comfortably spacious. Add the oven handle, countertop overhang, open dishwasher, and occupied stools, and the kitchen becomes a different proposition. The useful question in the kitchen island vs peninsula debate is whether the room can keep its circulation and work zones after those details are drawn.
Judge the occupied kitchen
An empty aisle isn't the same as an aisle during breakfast. Someone is reaching for cereal, someone is loading a plate, and someone has left a backpack beside a stool.
Evaluate the layout against those ordinary moments:
- Circulation: Can people reach appliances without crossing the cook's path?
- Seating and storage: Can diners sit comfortably while drawers remain usable?
- Remodel cost: What must move beneath the floor or behind the cabinets?
- Accessibility: Can the intended users approach and work at the counter?
- Task zoning: Does the new surface have a useful, specific job?
A side-by-side comparison narrows the choices. A painter's-tape test exposes the conflicts. Together, they produce a verdict based on your actual room, not an unoccupied kitchen photograph.
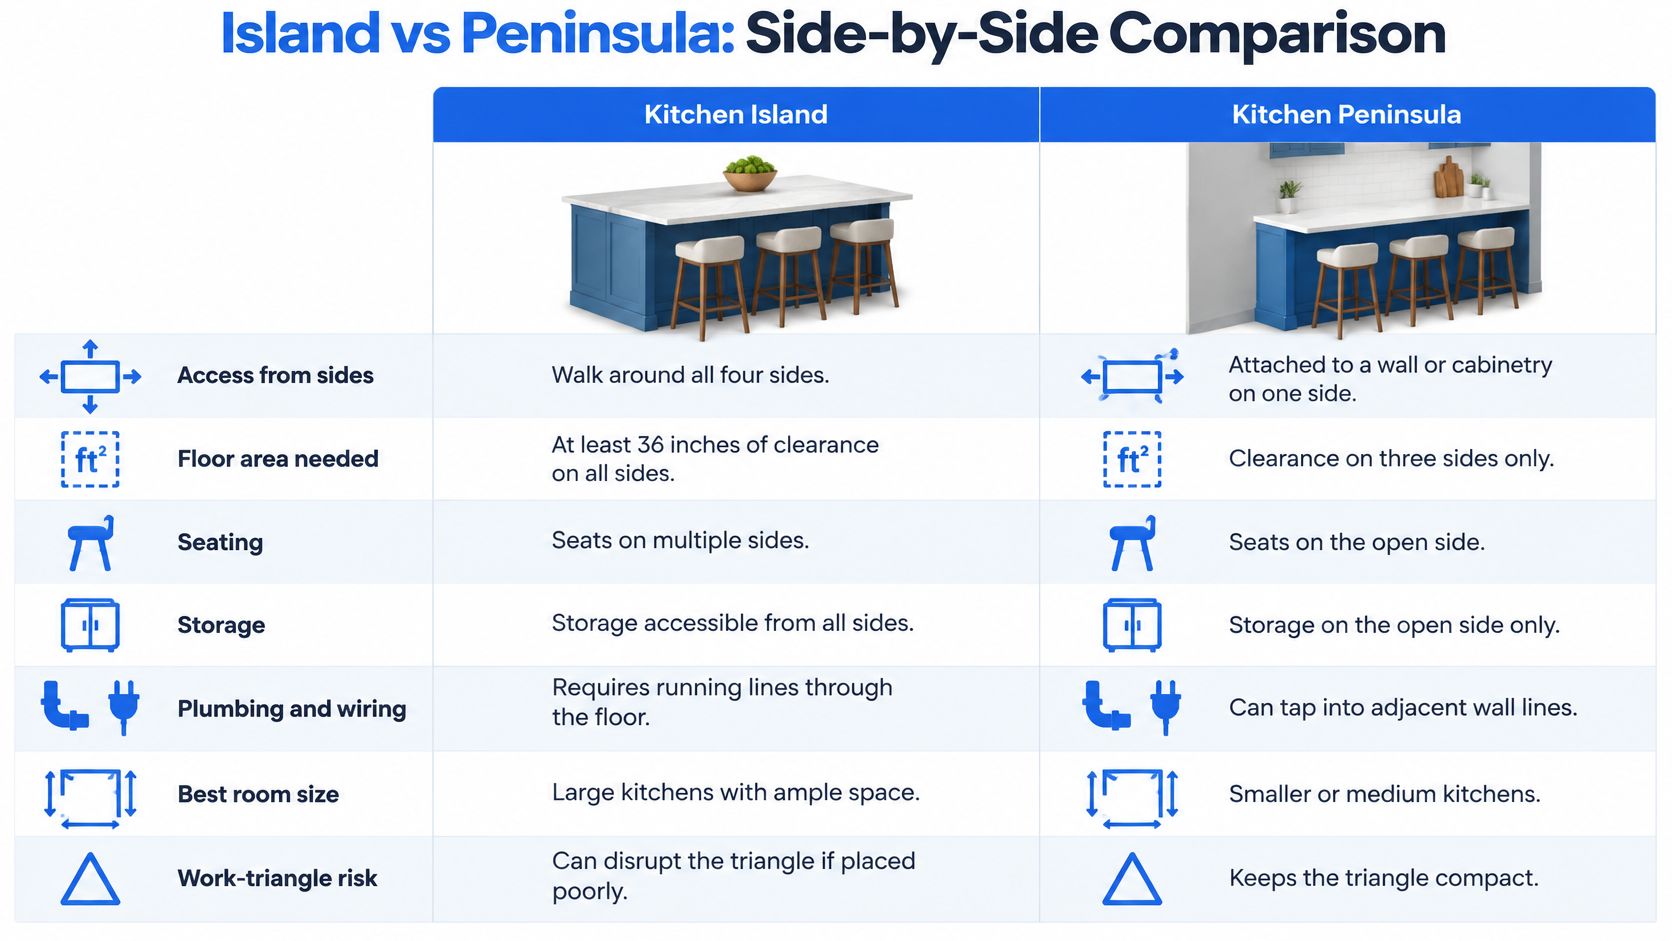
Side-by-Side Comparison at a Glance
| Factor | Kitchen Island | Peninsula |
|---|---|---|
| Access from sides | Four sides, if clearances allow | Usually three sides, one side attached to a wall or cabinet run |
| Floor area needed | Clear aisles on every exposed side | Clear aisle on the open sides only |
| Seating | Two or three sides, wrap-around possible | One end or one side, usually facing the work zone |
| Storage | Cabinets reachable from every open side when designed for it | Cabinets reachable mainly from the open side |
| Plumbing and wiring | Often needs new floor-run utilities | Often ties into existing wall-side runs |
| Best room size | Wide rooms with clear aisles | Narrow or open-plan kitchens |
| Work-triangle risk | Can cut across the triangle if placed badly | Easier to keep out of the triangle with careful placement |
Read floor area before seating. An island's attractive seating arrangement doesn't help if the room can't accommodate the people getting into those seats. A peninsula can use the connection to existing cabinetry to preserve a larger uninterrupted area elsewhere.
Then consider circulation. An island lets someone approach from different directions, while a peninsula directs entry around its open end. Neither arrangement guarantees smooth movement: an oversized island can pinch several routes, and an overlong peninsula can create a troublesome kitchen entrance.
Read the exceptions before choosing
Seating and work-triangle performance are the rows most likely to change with the room. A peninsula with an outward-facing seating edge can keep guests out of the cooking area. An island can do the same, provided the approach to the stools doesn't cross the preparation route.
Storage also requires a cabinet drawing, not just a rectangle labeled “island.” Drawers need opening room, and cabinets beneath a seating overhang can be inconvenient to reach. Accessible sides don't automatically become useful storage sides.
Planning rule: If the proposed island cannot preserve its surrounding aisles, stop comparing finishes and start revising the footprint.
Finally, examine utilities. The distance and construction between the proposed fixture and existing services can matter more to the quote than the layout's name. Use the table to eliminate unsuitable arrangements, then test the remaining option with finished dimensions and a written scope.
Circulation and Clearances That Decide the Layout
The NKBA Kitchen Planning Guidelines recommend a 42-inch work aisle for one cook, increasing to 48 inches when multiple cooks work back-to-back, along with a 36-inch general walkway and 44 inches for a passage behind seated diners. These are different conditions, not interchangeable versions of a universal clearance.
Minimum clearances for island and peninsula layouts
| Clearance | Minimum | Applies to |
|---|---|---|
| Work aisle, one cook | 42 in (1,067 mm) | Countertop edge to countertop edge |
| Work aisle, two or more cooks | 48 in (1,219 mm) | Back-to-back work |
| General walkway | 36 in (914 mm) | Main traffic routes |
| Passage behind seated diners | 44 in (1,118 mm) | Walking past chairs |
| Work-triangle leg | 4 to 9 ft | Each leg between sink, fridge and cooktop |
| Island or peninsula intrusion into a triangle leg | 12 in maximum | Measured per leg |
The work-triangle entries follow the NKBA planning document, which also limits total travel among the primary work centers to 26 feet. Treat aisle clearance and travel distance as separate checks: generous passages won't rescue a refrigerator that's inconveniently far from preparation.
Run the painter's-tape test
Establish the finished boundaries. Measure wall to wall, then mark the proposed cabinet faces and countertop edges with painter's tape. Account for new wall finishes rather than assuming the demolition-stage room is the finished room.
Reserve the appropriate aisles. Tape the working passages around the proposed footprint using the applicable dimensions in the table. Label work aisles, walking routes, and seating passages separately so you don't accidentally substitute a walkway allowance for a cooking aisle.
Add projecting parts. Mark appliance handles, drawer fronts, and countertop overhangs. Open the refrigerator, oven, and dishwasher, or use cardboard templates based on the selected appliances' drawings if they aren't installed yet.
Trace the work triangle. Use string to connect the refrigerator, sink, and cooking surface. Check individual legs, obstruction by the proposed counter, and the total route length, rather than approving the layout because its outline looks balanced.
Occupy the seats and walk the route. Put a chair where a stool will stand and have someone sit down. Carry an empty tray past them while another person moves between the sink and refrigerator.
Recognize a failed layout
Say the aisle works until the dishwasher opens, when everyone must leave through the same narrow gap. That isn't a minor inconvenience if loading dishes and preparing food regularly happen together.
Likewise, an island mustn't become a barrier between the refrigerator and sink that forces a repeated detour. Move it, shorten it, or test the peninsula instead. Our kitchen design tips can help turn those measurements into a more coordinated cabinet and appliance plan.
The result should be a clear pass, revise, or reject for each footprint, not a hopeful promise to squeeze through.
Seating and Storage Trade-Offs
Say the children do homework while a parent prepares dinner. A peninsula with seating at its outer end can keep notebooks within sight without bringing the children into the preparation aisle. Give the school supplies a nearby drawer, and dinner doesn't begin with a search for somewhere to relocate a pencil case.
Now consider a couple who regularly hosts friends. An island with seating around adjoining edges can support face-to-face conversation while the hosts finish serving. But the social advantage disappears if a guest must stand whenever someone opens a cabinet.
Match seats to the activity
Choose the counter and stool together. A raised bar surface calls for different seating than a preparation-height surface, and a stool that looks right in a showroom may leave someone perched awkwardly at home.
Try the proposed combination before ordering. Check foot support, knee space, how easily the sitter gets up, and whether a tucked-in stool still protrudes into the route. A comfortable breakfast seat and a comfortable place to work on a laptop aren't necessarily the same arrangement.
- Where stools fit: Place them where getting seated won't interfere with hot pans, appliance doors, or the primary kitchen entrance.
- Where storage pays off: Put breakfast dishes near breakfast seating, serving pieces near the dining approach, and preparation tools beside the working surface.
- Where clutter collects: Give mail, chargers, and homework materials a deliberate home. Otherwise, the most convenient preparation counter becomes the household reception desk.
Specify what each cabinet holds
An island can provide outward-facing storage for drinks or serving pieces, letting guests help themselves without entering the cooking zone. Inside-facing drawers can hold the utensils used during preparation.
A peninsula can combine cooking-side storage with accessible storage on its outer face where the design allows. Its attached corner needs particular attention: inspect how doors open, how corner fittings operate, and whether the contents will be reachable.
Count usable storage, not cabinet doors. A cupboard behind an occupied stool is technically present and practically unavailable.
Before approving cabinetry, count the seats you need and list the items you reach for daily. Then assign those items to actual drawers and shelves. If everything useful remains in the perimeter cabinets, reconsider what the new counter is supposed to contribute.
What a Remodel Really Costs for Each Layout
Utility routing is a major cost driver, especially when the proposed island includes a sink, dishwasher, or cooktop. Those features may require new connections through a subfloor or slab, while a peninsula may be able to connect through adjacent wall-side cabinetry.
An island without plumbing is a different construction proposition from an island carrying a cooking surface and cleanup appliances. Don't compare their prices as though the only difference were countertop length.
Price the hidden work
For an island cooktop, identify the ventilation route before settling the cabinet plan. An exterior-ducted system needs a workable duct path; a recirculating arrangement must suit the appliance, installation requirements, and applicable local rules. They aren't interchangeable labels to leave unresolved until installation.
Flooring deserves the same attention. Removing a peninsula can expose an unfinished patch, while relocating an island can reveal previous utility penetrations. Check whether matching flooring is available and whether repairs will remain visible.
Visible cabinet ends, decorative back panels, countertop supports, and lighting also belong in the comparison. An island doesn't automatically need more of everything, but its exposed surfaces must be specified rather than left as an allowance-shaped surprise.
Compare written scopes, not headline totals
- Request itemized construction lines. Separate utilities, flooring, cabinetry, countertop work, lighting, ventilation, and finishing.
- Confirm how cooking exhaust is handled. Identify the exterior termination or proposed recirculating equipment, including any associated ceiling or wall repair.
- Clarify electrical work. Ask whether required receptacles, new circuits, floor-run wiring, and any floor receptacles specified are included.
- Price the peninsula connection explicitly. Confirm what existing services can be reused and whether panel work, plumbing changes, or cabinet modifications remain necessary.
Use the same appliance selections and finish assumptions for both options. Otherwise, you may be comparing a fully equipped island with a basic peninsula and mistaking a scope difference for a layout premium.
At Epic Remodeling, we handle kitchen and bathroom remodels, flooring, room additions, new construction, and complete interior and exterior renovations. We offer a complimentary estimate for all labor and materials, so the practical next step is to define both alternatives clearly enough to compare their construction requirements.
Our guide to kitchen remodel costs can help organize that conversation. The useful figure is the price of your documented scope, not an unsupported national average.
Accessible Kitchens and Aging-in-Place Layouts
| Requirement | Value | Why it matters |
|---|---|---|
| Pass-through work area, opposing elements | 40 in minimum | Keeps the central aisle usable |
| U-shaped layout, opposing elements | 60 in | Room to maneuver and turn |
| Forward-approach work surface | 30 in wide with knee and toe clearance | Lets a seated user reach the counter |
| Work surface height | 34 in maximum where provisions apply | Brings the surface within reach |
| Clear floor area at accessible surface | 30 by 48 in | Space to approach the work surface |
These dimensions come from the U.S. Access Board's kitchen accessibility provisions, including the 40-inch pass-through clearance, 60-inch U-shaped clearance, and the approach and work-surface dimensions listed above. They apply where the relevant accessibility provisions govern; confirm the project's local requirements and the household's needs before treating them as a complete design specification.
Accessible planning begins with approach and maneuvering space, not countertop acreage. A room can contain plenty of work surface and still leave a seated user unable to get close enough to use it.
Choose the arrangement around the user
A peninsula can preserve a usable central area when a freestanding unit would divide it into inadequate passages. However, closing an existing layout into a U changes the clearance condition, so attaching the counter isn't automatically the accessible solution.
An island may offer useful approaches from different directions when the room supports them. It can also separate seated preparation from a busy sink zone, provided the route to that surface stays clear.
A peninsula with a lowered preparation section is another option. Design it as a genuine working position with knee and toe clearance, reachable storage, and coordinated services, rather than cutting down a cabinet and calling it accessible.
Coordinate the details before construction
Measure finished surfaces and appliance projections. Include handles, end panels, trim, and the appliances that will be installed. Test the layout with the intended mobility device where possible.
Reserve the approach area. Draw the clear floor space at the accessible work surface and keep permanent obstructions out of it. Don't place a decorative support, waste bin, or everyday stool where the user needs to approach.
Coordinate cabinetry and services. Resolve plumbing, electrical locations, supports, and storage together. Protect users from exposed hazards and make sure cabinet hardware and controls suit their reach and dexterity.
An accessible worktop isn't useful if someone has to move the furniture before approaching it.
For aging-in-place planning, consider changing strength, balance, and stamina as well as mobility. A seated preparation position can be valuable even when nobody currently uses a wheelchair. Plan for the person doing the work, not just the outline of their equipment.
Choose the Layout Your Room Can Keep
A poorly placed island is the problem, not the absence of an island. A well-zoned peninsula can outperform it even in a large kitchen when it puts preparation, serving, and storage where people need them.
The NKBA's 2025 kitchen trend findings report that 52% of respondents believe adding a second island to increase functionality is gaining popularity, while 83% report growing popularity for sinks with dedicated food-preparation and serving areas. Those are observations about popularity, not proof that more islands improve every kitchen. The useful takeaway is to give each work area a defined task.
Match the verdict to your household
- Narrow or galley kitchen: Test a peninsula first if its position preserves the entrance and avoids trapping the cook. Don't force an island into the middle just because the room is long.
- Wide room with frequent entertaining: An island makes sense when it creates an independent preparation or serving zone and lets regular cooks work without competing for the same spot.
- Family kitchen used for homework and breakfast: A peninsula with an outward seating end can give children a settled place without turning the cooking area into a through-route.
- Accessible kitchen: Approve the approach, maneuvering, and working positions before choosing the counter configuration. Neither layout gets an automatic pass.
The strongest design may also be the less elaborate one. If you need a clear surface for rolling dough, adding a sink to that surface could defeat its purpose. If guests mainly need somewhere to collect drinks, give them storage and refrigerator access away from active cooking.
Make the decision before ordering cabinets
- Draw both alternatives to scale, then mark the proposed finished footprints at full size.
- Tape the layouts onto the floor and walk through them with a chair occupied and appliance doors open.
- Check working aisles and triangle routes, including the combined travel between work centers.
- List your most frequent tasks, such as preparation, serving, cleanup, homework, and storage, and assign each a location.
- Compare itemized scopes before committing to cabinetry, including what each alternative removes, relocates, and finishes.
Use our kitchen remodel checklist to keep appliance selections, measurements, and scope decisions together. We design projects to the client's budget and offer flexible financing, but the starting point remains a layout worth building.
Choose the counter your household can use while the kitchen is busy. The winning plan still works when dinner is underway, the dishwasher is open, and someone wants a snack.
At Epic Remodeling, we combine kitchen layout planning with coordinated cabinetry, flooring, electrical, and plumbing work. Bring your room measurements, appliance plans, and seating priorities, and request a complimentary labor-and-material estimate to compare an island and peninsula before you order cabinets.