Kitchen Remodel Checklist: 8 Steps from Plan to Move-In
Use this kitchen remodel checklist to plan budget, layout, permits, cabinets, and trades from first sketch to final inspection and move-in day.
You've signed the bid, ordered the cabinets, and started debating backsplash grout. Then the electrician finds knob-and-tube wiring behind the range. The cabinet delivery is still coming, but now the walls need more work, the electrical scope has changed, and nobody's sure who approved what.
The expensive mistake wasn't choosing the wrong tile. It was committing to purchases before checking the conditions those purchases depended on.
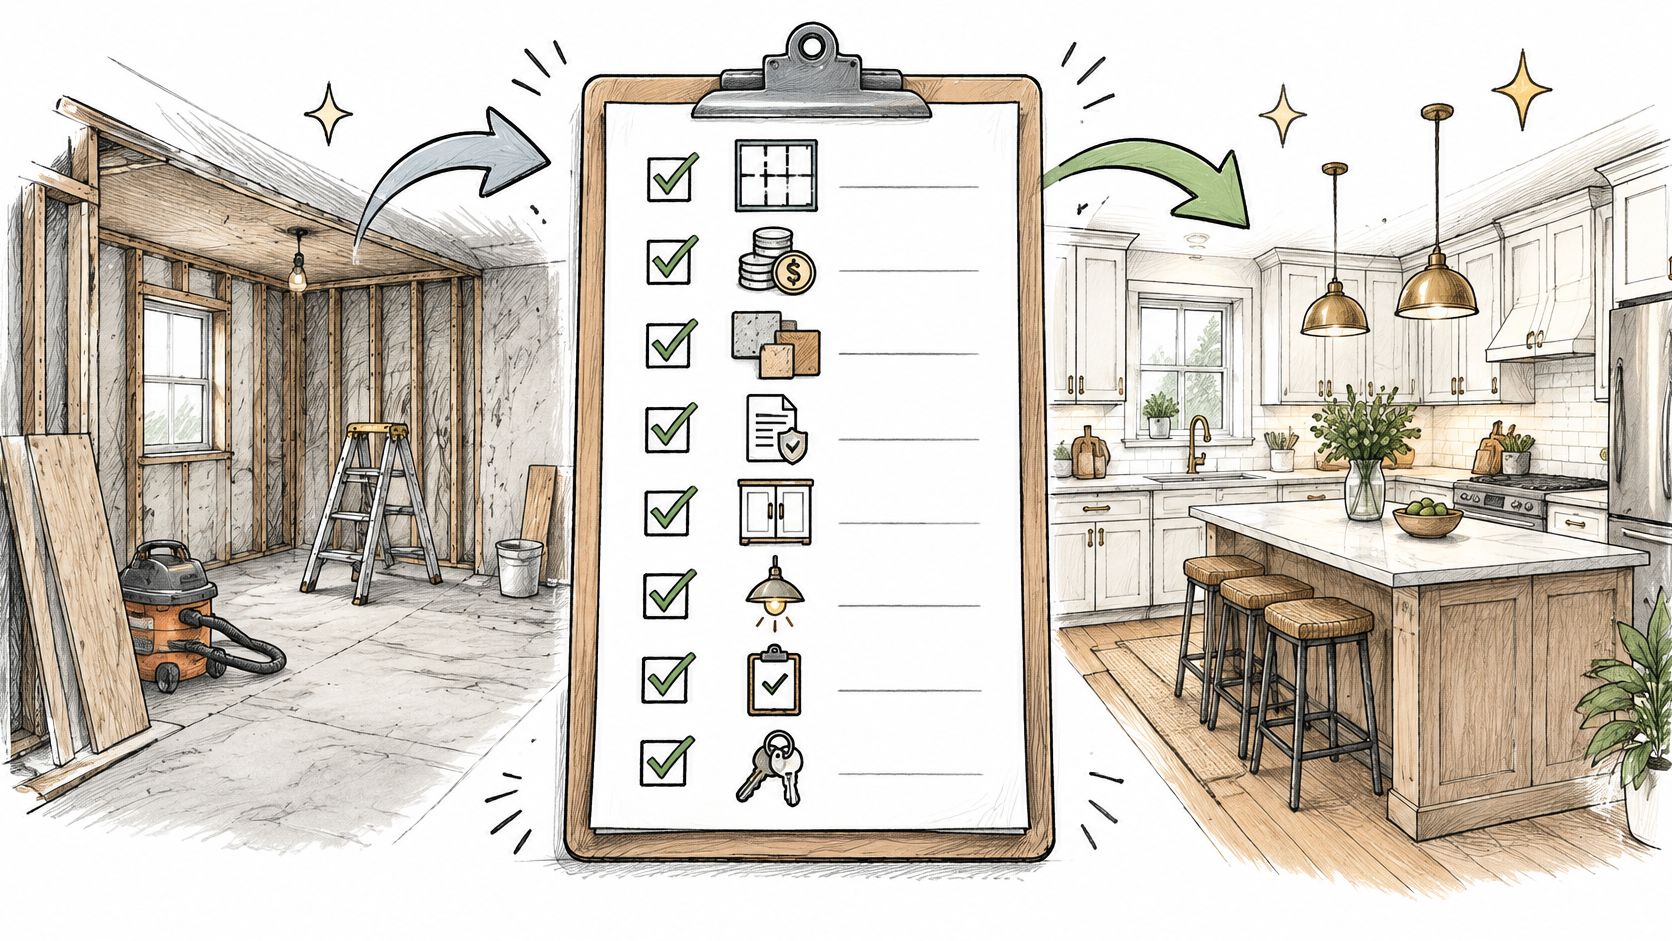
Kitchen remodels move through a predictable sequence, even when the finished rooms look nothing alike. You define the scope, verify the layout, coordinate approvals, settle specifications, and release work only when the preceding decisions are complete. Skipping a checkpoint doesn't remove the task. It usually makes someone perform it later, with installed materials in the way.
A useful kitchen remodel checklist tells you when to stop, not just what to buy.
Treat each step below as a decision gate with a clear done test. Some selections overlap, especially appliances and cabinetry, but no trade should build around an unresolved assumption. That's how you keep a small design change from becoming a surprisingly elaborate demolition project.
1. Define Budget, Scope, and Contingency
Start by deciding what kind of remodel you're buying. Replacing worn finishes is a different project from moving walls, relocating the sink, and rebuilding the electrical system.
The 2025 U.S. Houzz Kitchen Trends Study reported median spending of $60,000 for major kitchen remodels as of mid-2024, compared with $20,000 for minor renovations. Those national figures aren't an Orange County estimate, but they illustrate why a vague request for a new kitchen produces wildly different bids.
Put the Spending Rules in Writing
Have each bidder price the same scope, including demolition, disposal, protection, cabinetry, surfaces, appliances, plumbing, electrical work, flooring, and finishes. Identify exclusions just as clearly.
- Separate allowances: State what each allowance buys and whether installation, delivery, and tax are included.
- Protect contingency: Reserve money for concealed conditions, not upgraded pendant lights.
- Control changes: Require a written description, price, and schedule effect before approving extra work.
- Define payments: Connect progress payments to clearly described milestones, with contract terms checked against applicable requirements.
Say demolition exposes deteriorated galvanized supply piping. A reserved contingency gives you room to address the piping without immediately sacrificing planned finishes. It doesn't guarantee the schedule stays unchanged.
Use these budget-conscious kitchen remodeling strategies to trim scope before cutting installation quality.
Done test: The scope, exclusions, allowances, contingency, and change-order process are documented, and you understand the total funding commitment.
2. Plan Kitchen Layout and Work Triangle
Open the dishwasher in your proposed layout. Can someone still reach the sink? Now open the refrigerator. A beautiful island becomes less impressive when it traps the person holding the milk.
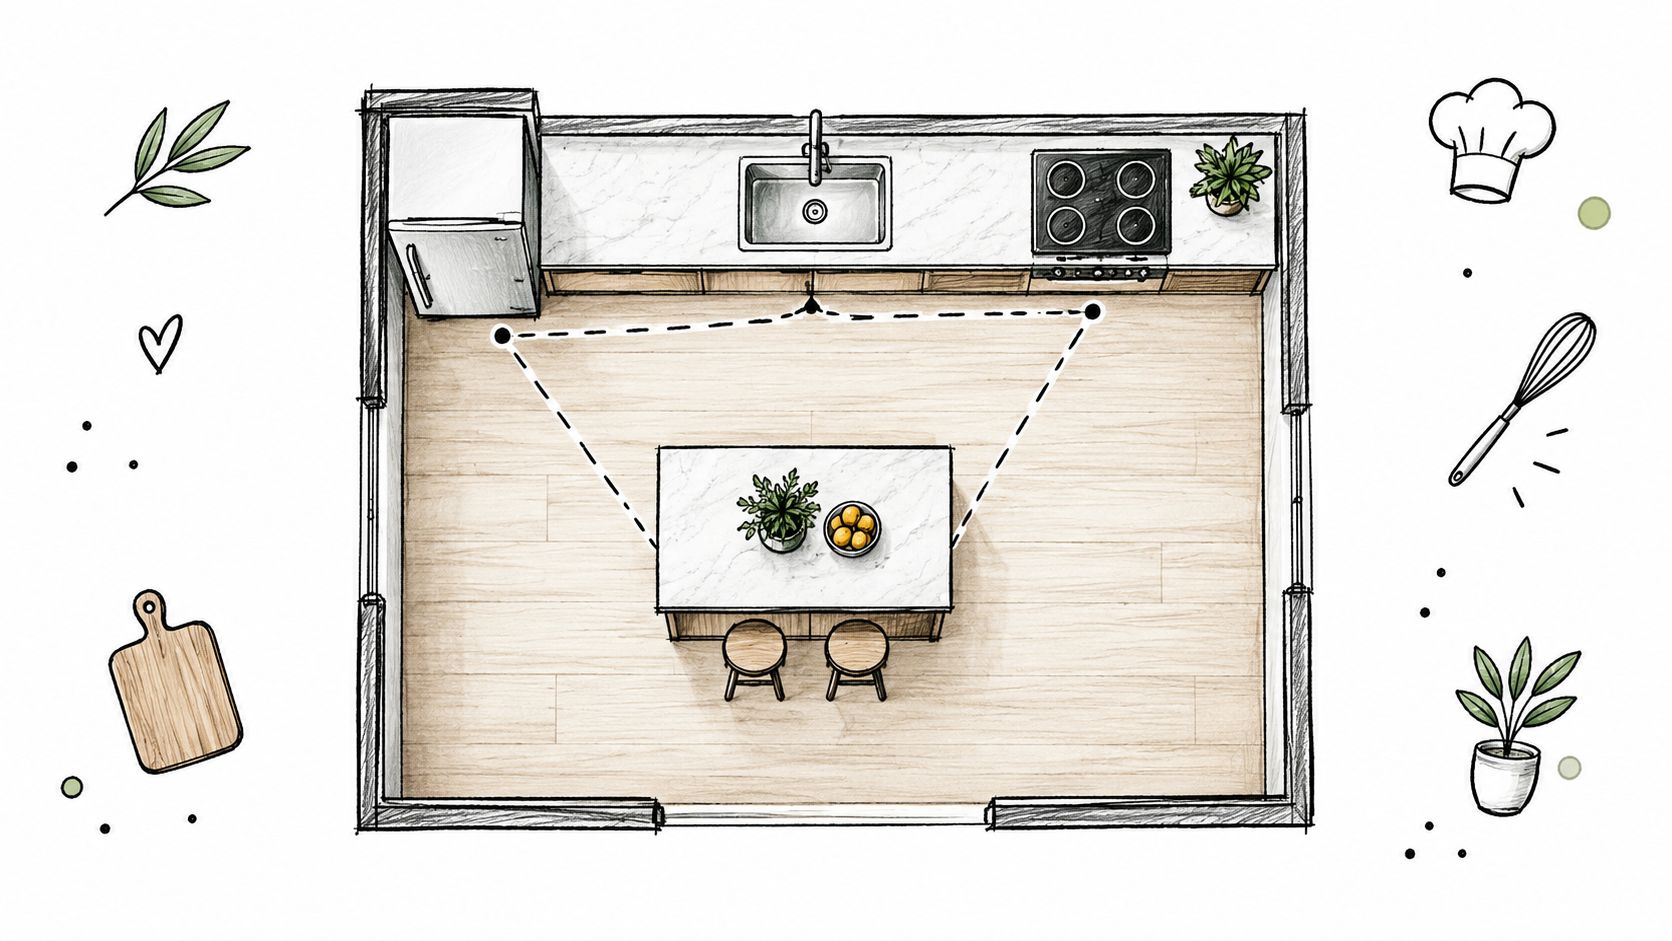
Use painter's tape to mark cabinet faces, island edges, and appliance openings on the floor. Walk through breakfast preparation, unloading groceries, and clearing dinner dishes. Test the room with whoever cooks, not just whoever likes the rendering.
The NKBA Kitchen Planning Guidelines recommend work aisles of at least 42 inches for a single-cook kitchen and 48 inches for multiple cooks. Treat those recommendations as planning references, not a substitute for project-specific accessibility and building requirements.
Test Tasks, Not Just Shapes
In a galley-to-L-shaped conversion, moving the sink might improve the view while adding drainage and venting complications. Have the contractor verify the route before approving the prettier plan.
Keep cleanup storage near the dishwasher and preparation tools near usable counter space. Check refrigerator handle projections, dishwasher position, seating clearance, and the route through the room.
These practical kitchen design tips can help you compare layouts without treating every empty patch of floor as an invitation for an island.
Done test: A field-measured plan shows workable circulation, appliance access, storage zones, and feasible utility locations.
3. Secure Permits and Verify Contractor Licensing
A contractor saying a permit probably isn't necessary isn't a permit determination. Before demolition, establish what the local building department requires for your actual scope.
Describe proposed electrical, plumbing, gas, structural, and ventilation work accurately. Requirements depend on the jurisdiction and project, so don't borrow a neighbor's answer.
For Orange County and Los Angeles projects, verify the contractor's current licensing through the California Contractors State License Board and confirm insurance documentation. Check the contracting business name against the proposal rather than relying on a license number printed on a truck.
Establish the Inspection Hold Points
- Assign responsibility: Identify who prepares plans, submits applications, answers corrections, and schedules inspections.
- Document approvals: Keep approved drawings, permit information, and inspection records accessible.
- Protect concealed work: Put required inspections into the schedule before insulation, drywall, or other finishes cover the work.
Say you want to remove the wall between the kitchen and dining room. The contractor needs to establish whether it carries loads and coordinate any necessary design and approvals before removal. Our guide to the cost considerations of removing a load-bearing wall explains why the opening itself is only part of that decision.
Don't confuse an application receipt with permission to start the affected work. They aren't interchangeable.
Done test: Licensing and insurance are verified, required approvals are in place for the upcoming work, and everyone knows which inspections must happen before construction proceeds.
4. Select Cabinetry, Construction, Style, and Storage
The cabinet door gets the attention. The box, drawer slides, and installation details determine whether you still like the kitchen after using it.

Compare face-frame and frameless construction, box materials, finished ends, drawer construction, hardware, and repair options. Plywood isn't a magic word that makes every cabinet well built. Inspect a sample drawer and ask how exposed edges and sink-base penetrations will be protected.
For a busy family kitchen, deep drawers can make pots easier to retrieve than shelves behind doors. A narrow pullout can organize oils near preparation space, but specialty inserts consume usable width and add hardware that may eventually need adjustment.
Don't release the cabinet order until the exact appliance models and installation requirements are checked, even though appliances appear later on this checklist.
Accessibility belongs in this decision, too. Consider comfortable pulls, reachable storage, and whether a seated preparation area would serve the household better than another decorative cabinet.
Have the installer review fillers, wall irregularities, door swings, countertop overhangs, finished floor height, and appliance-removal access. A wall-side drawer that hits its handle against the casing isn't a charming quirk.
Done test: Signed cabinet drawings match field measurements, appliance specifications, storage needs, finishes, hardware, and installation details. Any substitution requires another fit check.
5. Choose Countertops and Backsplash Materials
Choose the surface for the way you cook, not the way an untouched sample looks under showroom lighting. A household that leaves lemon juice beside the cutting board needs a different maintenance conversation from someone who enjoys caring for natural stone.
Quartz offers consistent selection options and straightforward routine care, but hot cookware still needs a trivet. Marble can etch with acidic foods. Granite and quartzite vary by slab, while laminate provides a lower-cost route with different edge, sink, and heat limitations.
Approve the Details Before Fabrication
Bring cabinet, flooring, paint, and backsplash samples together under the planned lighting. For patterned slabs, review the actual material and proposed seam locations rather than approving from a thumbnail.
- Confirm interfaces: Select the sink, faucet, accessories, edge profile, and any required holes.
- Review support: Have the fabricator identify support needs for overhangs and heavy details.
- Plan tile cuts: Mark backsplash boundaries, outlets, and termination points before installation.
Say you choose a waterfall island and a matching slab backsplash. Review how the pattern turns at the corners and where seams will land before cutting begins. The effect may justify the added fabrication, but it shouldn't arrive as a surprise charge.
Material selection happens early; final templating happens after the cabinets are installed, secured, and leveled.
Done test: Material, seams, edges, penetrations, supports, and backsplash layout are approved. Fabrication waits until the installed base is verified.
6. Specify Appliances and Ventilation
An appliance labeled counter-depth can still project beyond the cabinet faces. Handles, hinges, ventilation gaps, and door-opening requirements matter more than the category name.
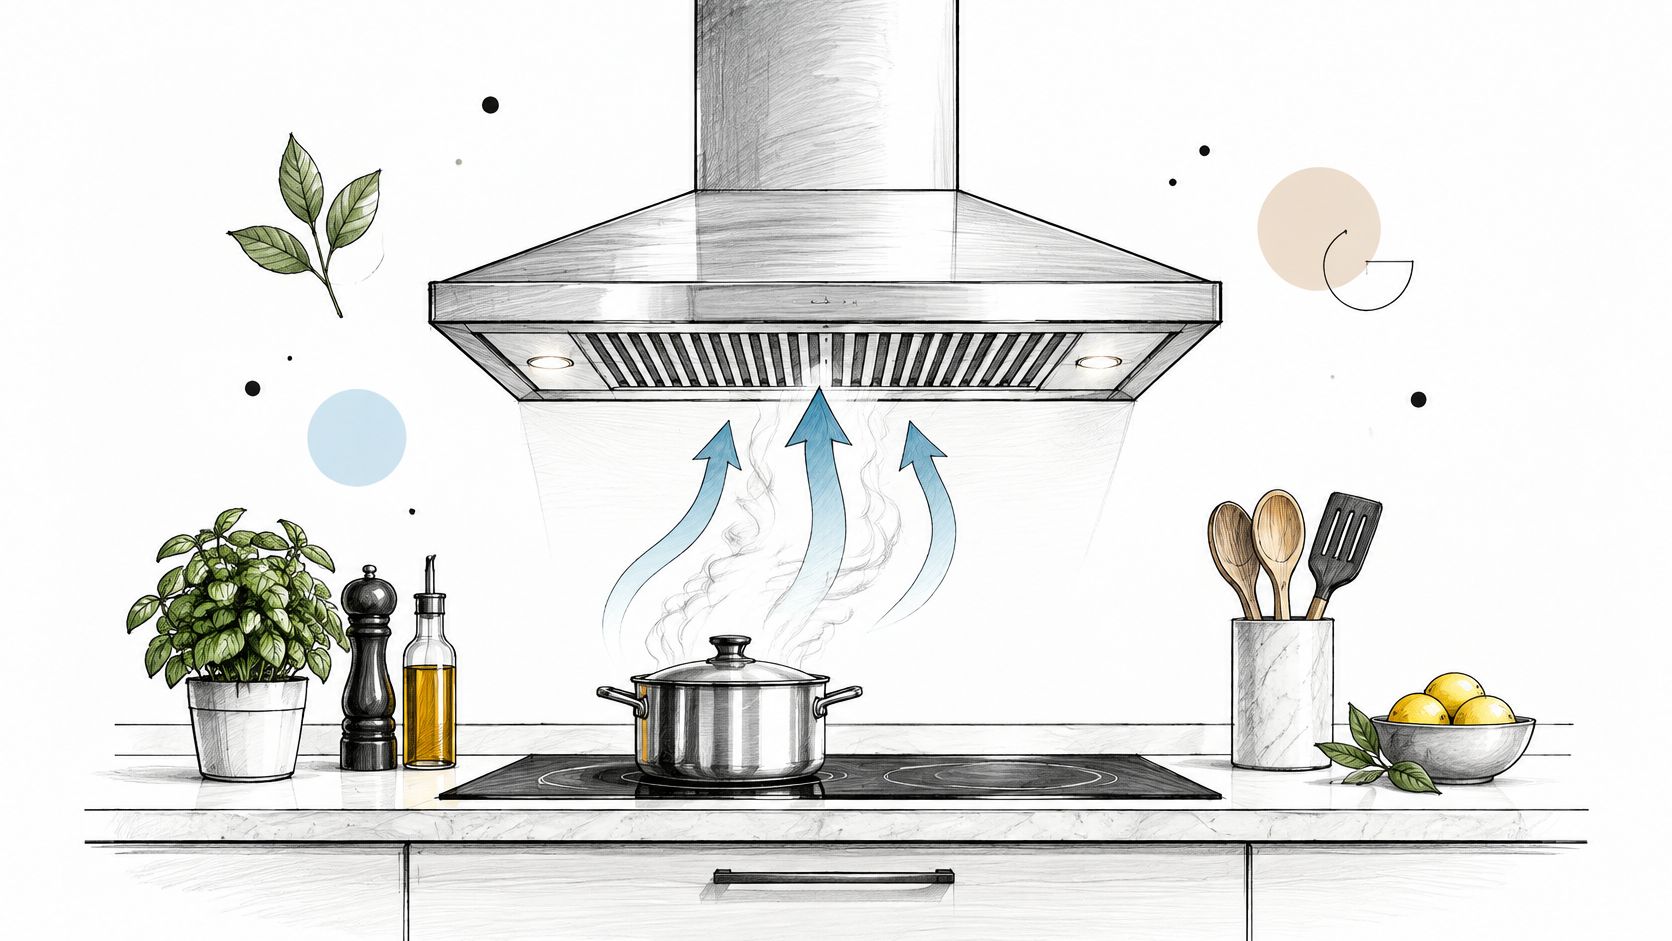
Create an appliance schedule with exact model numbers and manufacturer installation sheets. Share the same version with the cabinet supplier, electrician, plumber, and installer. A substitute refrigerator can change more than the delivery date.
Solve the Hood Route Early
For a gas-to-induction conversion, have the electrician evaluate the appliance's supply requirements and the home's available capacity before purchasing. Don't assume the existing range connection can serve the replacement.
For ventilation, establish a feasible duct route to the exterior, then coordinate the hood with the cooking equipment and installation instructions. Discuss capture area, duct sizing, bends, termination, noise, and whether replacement air needs evaluation.
A recirculating hood filters air and returns it indoors. It isn't equivalent to exhausting cooking moisture and pollutants outside.
Purchase checkpoint: A sale price isn't a saving if the appliance requires cabinets or utilities you haven't budgeted for.
Confirm delivery access through doors and hallways, along with safe storage and installation timing. Keep packaging until the equipment has been inspected for damage and completeness.
Done test: Every appliance has a confirmed model, opening, utility connection, delivery route, and installation plan. The hood route is resolved before cabinetry or rough-in work depends on it.
7. Plan Electrical Circuits and Layered Lighting
Stand at the planned preparation counter and locate the outlets for the kettle, toaster, blender, and coffee maker. If the answer involves an extension cord across the sink, the electrical plan needs another pass.
The electrician should assess existing wiring, panel capacity, appliance loads, and the protection required for the project. Have that review completed before cabinet and drywall work restrict access.
Light the Work Surface
Ambient lighting helps you move around the room. Task lighting helps you see the knife. Accent lighting is optional; making dinner without working in your own shadow isn't.
For a kitchen with wall cabinets, place under-cabinet lighting toward the front to illuminate the counter rather than mostly washing the backsplash. Coordinate concealed wiring and driver access with the cabinet installer.
- Separate controls: Give task lighting and general lighting independent switching.
- Check compatibility: Match dimmers, LED fixtures, and drivers before installation.
- Coordinate placement: Mark pendants against the finished island position, not an outdated sketch.
- Plan receptacles: Locate them around actual tasks while having the electrician verify permitted placement.
In a kitchen with glossy tile, test a lighting sample before committing. An exposed LED strip can reflect as a dotted line across the backsplash, turning a quiet finish into a small airport runway.
Done test: The electrical plan matches the final appliance and cabinet schedules. Circuit needs, controls, fixture locations, and required rough-in inspections are resolved before walls close.
8. Coordinate Trades, Schedule, and Manage Disruption
Don't empty the kitchen just because demolition has an opening on the calendar. First confirm what the trades need next, which materials are available, and which approvals could stop progress.
Houzz's 2024 U.S. Houzz & Home Study, as reported by The Oregonian/OregonLive, found that U.S. kitchen renovations in 2023 averaged 9.6 months of planning and 5.1 months of construction. Those are historical averages, not a promised duration for your project.
Schedule Dependencies, Not Wishes
The written schedule should show demolition, structural work, utility rough-ins, inspections, wall closure, cabinet installation, templating, fabrication, and finish connections. Flooring order depends on the selected product and installation requirements.
Agree on dust barriers, floor protection, delivery access, working hours, and who communicates changes. At Epic Remodeling, we assign a dedicated project manager to supervise and assist from the start through completion.
For a family staying home, establish a temporary food-preparation area away from construction dust. Include refrigerator access, a safe cooking arrangement, and a workable dishwashing plan.
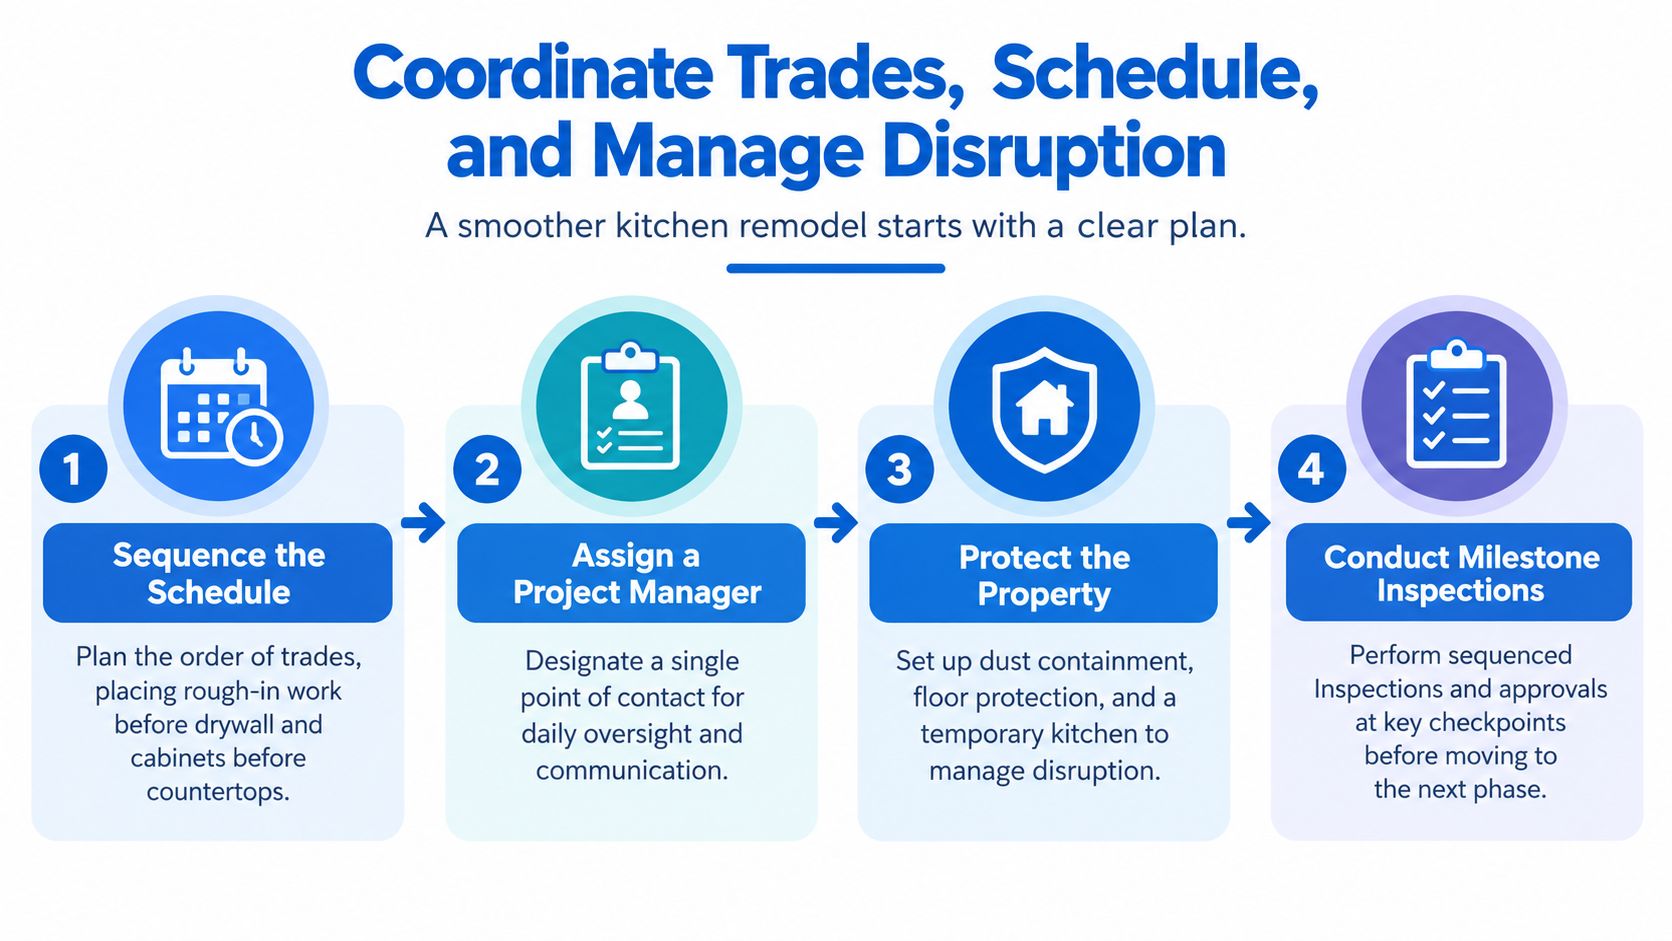
Maintain a shared decision log with an owner and deadline for each unresolved question. A casual conversation beside the dumpster isn't a reliable change record.
Done test: The schedule identifies dependencies, inspection stops, confirmed deliveries, household arrangements, and the person responsible for resolving delays.
Key specs, cost drivers, and risks for each kitchen remodel checkpoint
| Item | Key Number or Spec | Main Cost Driver | Top Risk |
|---|---|---|---|
| Define Budget, Scope, and Contingency | Contingency commonly 10%–20% of construction cost | Labor, materials, permits, and finish allowances | Hidden conditions can quickly consume contingency funds |
| Plan Kitchen Layout and Work Triangle | Triangle legs typically 4–9 ft; walkways 36–48 in | Moving plumbing, gas lines, or structural walls | Layout may feel cramped once clearances and door swings are accounted for |
| Secure Permits and Verify Contractor Licensing | Permits and inspections for applicable work; verify active CSLB license | Permit fees and added time for review and inspections | Unpermitted or unlicensed work can create safety and liability issues |
| Select Cabinetry: Construction, Style, and Storage | Plywood, particleboard, or MDF; face-frame or frameless | Cabinet construction, custom sizing, hardware, and finishes | Long lead times or poor fit if dimensions are not finalized |
| Choose Countertops and Backsplash Materials | Options include quartz, natural stone, porcelain, and tile | Material choice, fabrication, edges, and installation | Fabrication delays or surface damage from heat, stains, or etching |
| Specify Appliances and Ventilation | Confirm model dimensions and hood airflow requirements | Premium appliances, utility work, ducting, and make-up air | Late model selection can force cabinet changes or delay installation |
| Plan Electrical Circuits and Layered Lighting | Typically two 20-amp small-appliance circuits | New circuits, panel upgrades, and lighting fixtures | Insufficient capacity or poorly placed outlets and switches |
| Coordinate Trades, Schedule, and Manage Disruption | Example remodel duration: about six weeks | Project management, trade coordination, and protection measures | Trade or delivery delays can cascade through the schedule |
From Final Inspection to Move-In Day
A final inspection sign-off matters, but it isn't the same as your acceptance walkthrough. The inspector checks the permitted work within the inspection's scope. You still need to confirm that the kitchen functions as specified and the finish work is complete.
Walk the room with the contract, approved selections, and kitchen remodel checklist in hand. Open every cabinet door and drawer, including those beside walls and appliance handles. Check alignment, smooth operation, shelf installation, finished panels, and toe kicks.
Test the Kitchen Before Unpacking It
- Water and drainage: Run the faucet, check the sprayer, and operate the dishwasher. Look beneath the sink during use and afterward.
- Electrical operation: Test lights, dimmers, and receptacles. Have the electrician demonstrate GFCI testing and circuit identification.
- Ventilation: Run the hood through its settings, including full speed, and listen for rattles.
- Appliance function: Follow startup instructions and run appropriate operating cycles rather than checking only the display.
- Finish quality: Inspect countertop seams, backsplash cuts, grout, caulk, paint, and flooring transitions.
Record unfinished work in a written punch list with responsibility and an agreed completion date. Handle remaining payments according to the contract and applicable requirements, rather than improvising new conditions during the walkthrough.
Collect permit sign-offs, appliance manuals, warranties, surface-care instructions, paint information, and spare finish materials. Photograph accessible utility shutoffs and keep the project documents together. You shouldn't need a scavenger hunt to find the dishwasher manual during a leak.
For help before construction starts, we offer a free in-home consultation, bookable through our contact form or by calling 949-594-6444, plus a complimentary estimate covering labor and materials. Bring your priorities, concerns, and working budget so the discussion starts with the decisions that matter.
Move in after the kitchen is clean, safe, and ready for use. The finish line is cooking dinner without discovering another unresolved construction question.
We help connect your kitchen layout, material selections, and trade work through a coordinated design-to-build process. Visit Epic Remodeling to arrange a consultation and turn your kitchen remodel checklist into a clear scope before construction begins.